When I first stumbled upon Puppy Chow Balls, I was surprised by how something so simple could feel like treating myself without any guilt. It was one of those rainy weekend afternoons when I was craving something sweet but didn’t want the fuss of baking or the heaviness of regular desserts. I wanted a snack that fit into my everyday routine—something easy, nourishing, and satisfying. Puppy Chow Balls instantly felt like the answer, a perfect mix of sweet snack balls that are both approachable and delightful.
What hooked me was how Puppy Chow Balls fit into a balanced, real-life approach to eating. There’s no pressure here, no need for complicated ingredients or hours in the kitchen. Just the right amount of chocolaty goodness, a touch of crunch, and a light dusting of powdered sugar snack style that makes each bite feel like a mini celebration without overwhelming your diet or your schedule.
I remember making my first batch while chatting with a friend over coffee—a kitchen experiment mixing a classic puppy chow recipe with my own spin for more wholesome ingredients. We were both amazed. These no-bake dessert bites are a true game-changer for anyone wanting to enjoy a treat that feels indulgent but plays well with everyday eating habits.
If you’re a fellow home cook seeking simple, nourishing meals and snacks without the fuss, Puppy Chow Balls might just become your new best friend in the kitchen. They’re flexible, forgiving, and, frankly, a joy to make. Let me show you how to bring these chocolate chow balls into your life with ease and warmth.
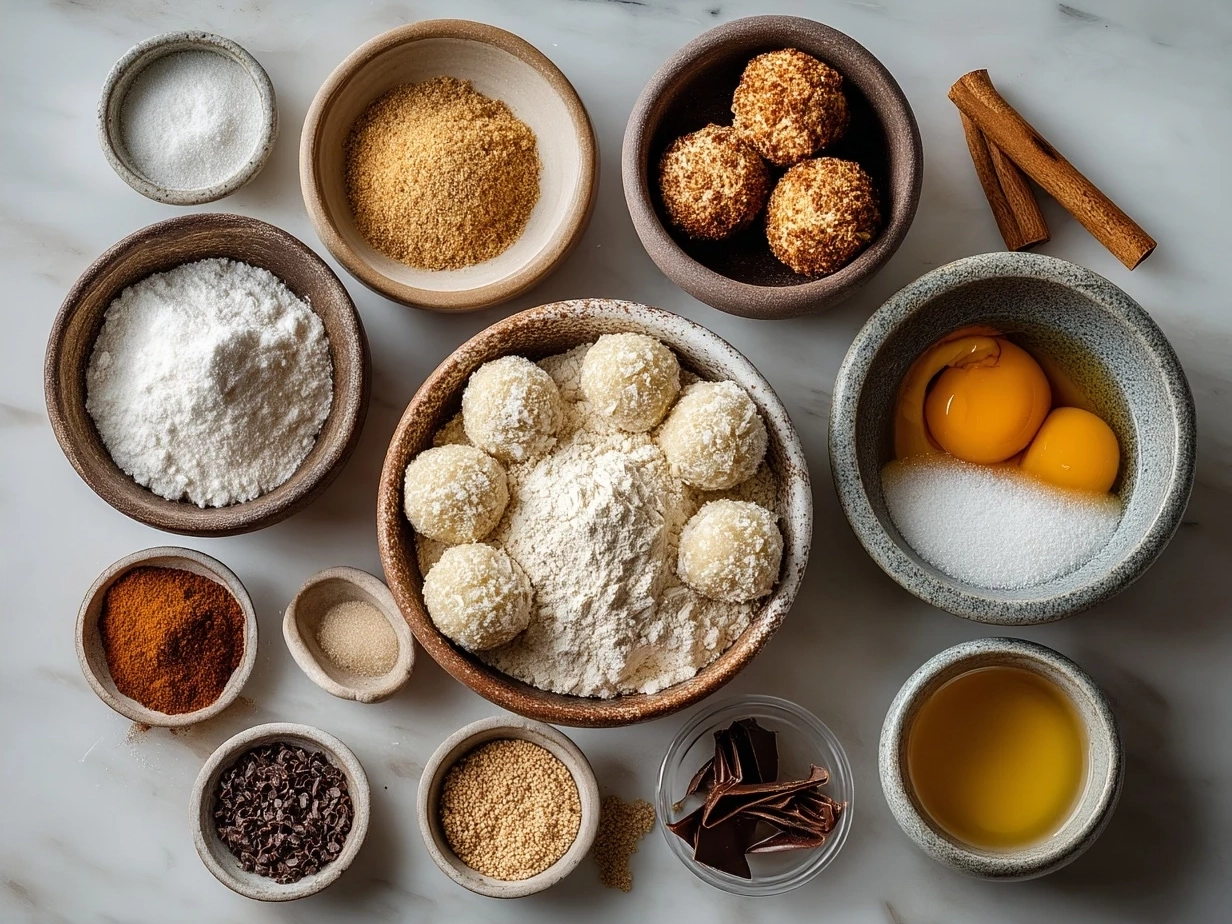
What You’ll Need:
For this Puppy Chow Balls recipe, I keep things easy and accessible. Here’s what you’ll want to have on hand:
- 3 cups Chex cereal (rice or corn works well; no stress if you don’t have both—I usually just grab whichever is on sale)
- 1 cup semi-sweet chocolate chips (but feel free to try dark or even white chocolate for a fun twist)
- 1/2 cup natural peanut butter (almond butter works great for a nut-free swap)
- 1/4 cup unsalted butter (can substitute with coconut oil to keep it dairy-free)
- 1 1/2 cups powdered sugar (the key powdered sugar snack element here)
- 1 tsp vanilla extract (optional but adds a lovely depth)
- Pinch of salt (to balance the sweetness)
This Puppy Chow Balls ingredient list is intentionally simple—because good food doesn’t need to be complicated.
Shopping tip: You can usually find Chex cereal in the regular cereal aisle, and peanut butter near the spreads. This keeps costs low by using pantry basics you might already have.
Prep shortcut: When you’re pressed for time, melting your chocolate and mixing all wet ingredients in the microwave works like a charm.
Leftover tip: Store your Puppy Chow Balls in an airtight container at room temperature for up to a week, or in the fridge if your kitchen tends to be warm. They stay fresh and maintain that signature powdered sugar coating nicely.
I love adding an extra sprinkle of cinnamon or even a handful of mini chocolate chips mixed in for extra texture. Experimenting keeps this sweet snack balls recipe exciting every time.
Let’s Make It Together!
1. Start by pouring your 3 cups of Chex cereal into a large mixing bowl. It’s best to have the bowl big enough for tossing later.
2. In a microwave-safe bowl, combine 1 cup semi-sweet chocolate chips, 1/2 cup peanut butter, and 1/4 cup butter. Microwave in 30-second bursts, stirring between each until it’s smooth and glossy. Your Puppy Chow Balls will smell wonderfully chocolatey right now—enjoy that moment!
3. Stir in 1 tsp vanilla extract and a pinch of salt to this chocolate mixture. This simple step boosts flavor without any fuss.
4. Pour the chocolate mixture over the cereal. Gently fold using a spatula or spoon until every piece is coated. Don’t worry if your Puppy Chow Balls look a bit uneven at first; the powdered sugar coating will help with that.
5. Transfer the chocolate-coated cereal into a large zip-top bag. Add 1 1/2 cups powdered sugar snack style. Seal the bag tightly and shake vigorously until the cereal is fully coated and looks like your classic Puppy Chow Balls.
6. Spread the coated balls on wax paper to set for about 15-20 minutes. This is perfect time to clean up or even prep a simple side to enjoy with them.
7. Once set, transfer Puppy Chow Balls to an airtight container or keep them in the bag for easy snacking.
In my kitchen, this Puppy Chow Balls recipe usually takes about 30 minutes from start to finish, making it a perfect quick fix for weeknights or casual gatherings.
Here’s where I used to overcomplicate my Puppy Chow Balls—trying to melt the chocolate too fast or coat the cereal in multiple batches. Turns out, keeping it simple and patient is the trick!
How I Love to Serve This!
Puppy Chow Balls are one of those sweet snack balls I often pull out during relaxed weekends or as a quick pick-me-up during the week. They pair beautifully with a hot cup of coffee or a glass of almond milk.
For a more filling snack, I love serving Puppy Chow Balls alongside some fresh fruit or a handful of nuts. This adds a nice balance of flavors and textures that feel nourishing.
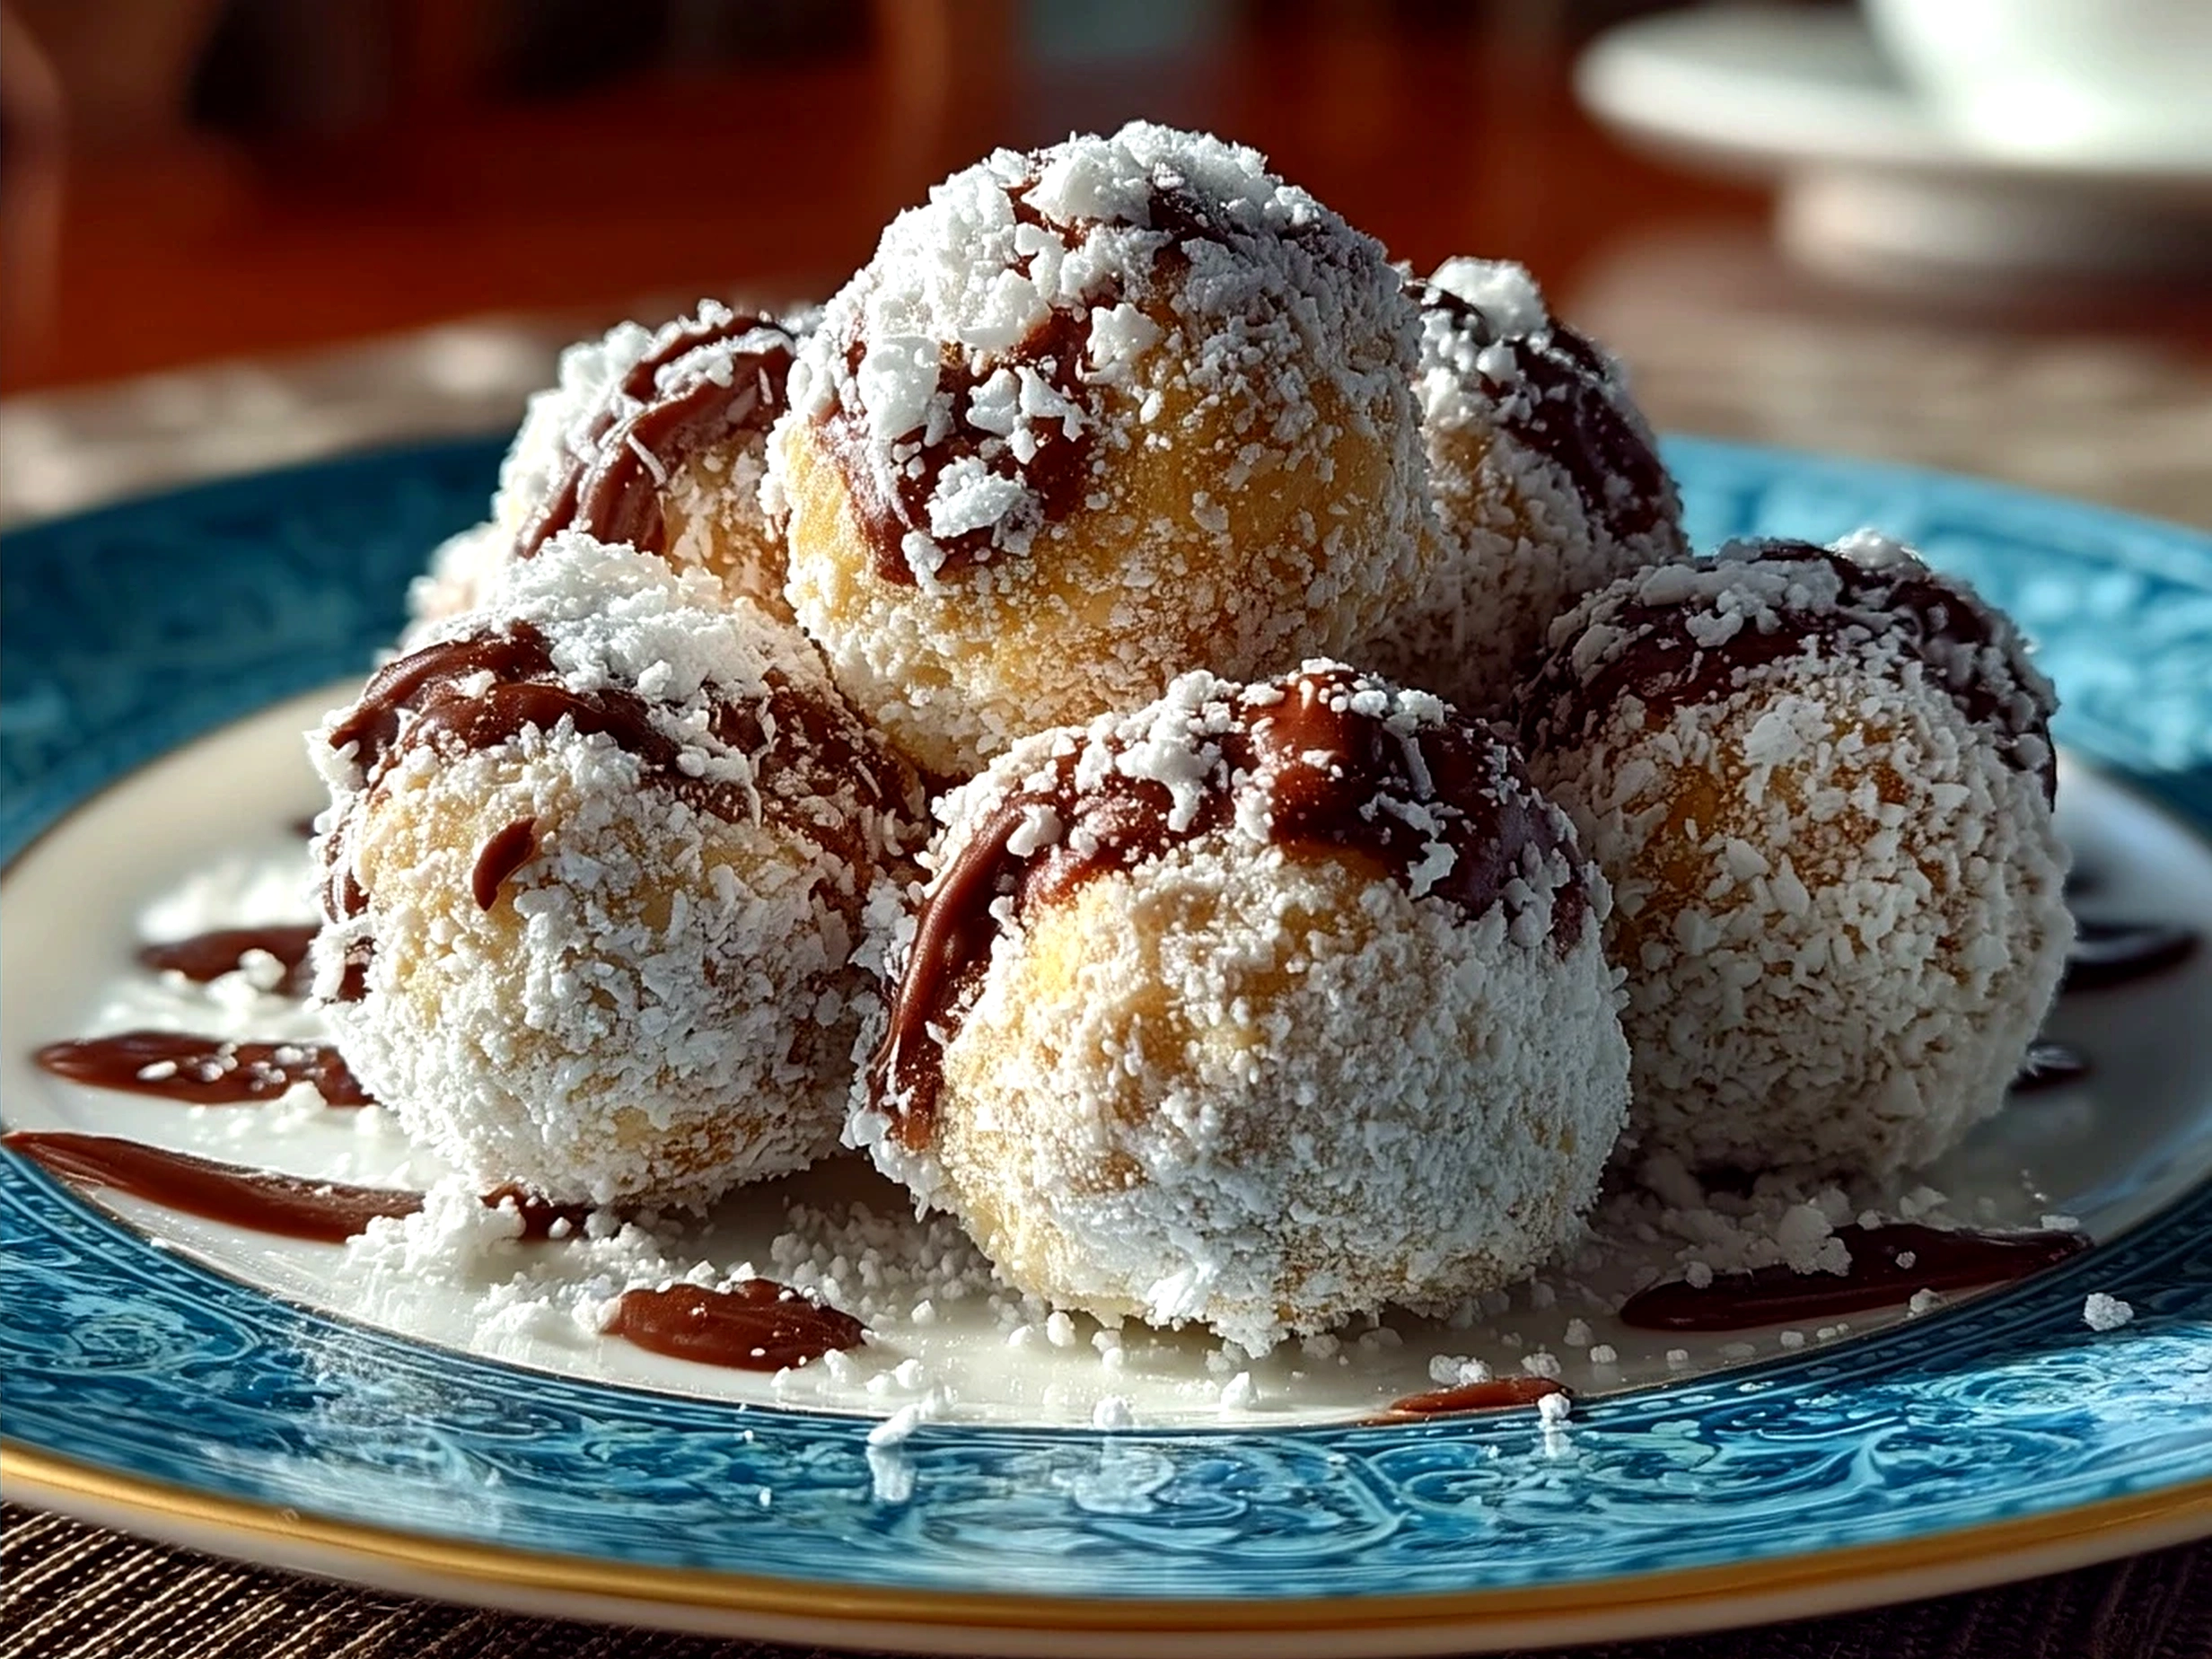
They’re perfect for potlucks, kid’s lunches, or just a casual get-together. Presentation-wise, I like to put them in a pretty bowl with a dusting of extra powdered sugar on top. Bonus points if you add a few mini chocolate chips for decoration.
Leftovers? No problem! Puppy Chow Balls are just as tasty days later. I sometimes crumble them over yogurt or ice cream for a sweet twist.
Seasonally, I’ve tried adding peppermint extract around the holidays or swapping some of the chocolate chips for butterscotch. Both have been crowd-pleasers!
My friends always request Puppy Chow Balls when they come over, which tells me I’m on the right track (and that they might be my unofficial recipe testers).
If you want more savory inspired snack balls, check out my Broccoli Cheese Balls or Cream Cheese Sausage Balls for real-life cooking ideas.
Common Questions Answered
1. Can I make this Puppy Chow Balls ahead for meal prep?
Absolutely! These sweet snack balls keep well for up to a week if stored in an airtight container. They’re great to prepare in advance for busy days or gatherings.
2. What if I don’t have all the ingredients for this Puppy Chow Balls?
No worries at all! If you’re missing peanut butter, you can swap it for almond or sunflower butter. Dark chocolate chips work as a substitute if you’re out of semi-sweet. Even margarine or coconut oil can take the place of butter in a pinch.
3. How can I adjust the flavor of this Puppy Chow Balls to my taste?
I love adding a pinch of cinnamon or a splash of peppermint extract for a festive feel. You can also mix in some chopped nuts or dried fruit for texture and variety.
4. Is this a no-bake dessert bites recipe?
Yep! This Puppy Chow Balls recipe is entirely no-bake, which makes it ideal for quick prep or warm days when you don’t want to heat up the kitchen.
5. Can I make Puppy Chow Balls gluten-free?
Sure! Just make sure your Chex cereal is labeled gluten-free, and you’ll be all set.
6. How do I prevent the powdered sugar from clumping?
Make sure to shake the bag vigorously and seal it tightly so the sugar coats evenly. Sometimes tossing the coated cereal again before setting helps fluff it up.
7. Can kids help make Puppy Chow Balls?
Totally! This recipe is super kid-friendly—just have them help with shaking the bag and folding the chocolate cereal. It’s a fun way to share kitchen time.
If you’re curious, there are fun variations like the Puppy Chow Chocolate Truffles on Wellness by Kay or the Holiday Puppy Chow Snack Mix – Gluesticks Blog for some festive inspiration. You can also find great inspiration on Gluesticks’ Facebook page.
Final Thoughts
Puppy Chow Balls have found a special place in my kitchen routine because they’re so simple and adaptable. They remind me that nourishing food doesn’t have to feel like a chore or a splurge; it can be something to look forward to that fits seamlessly into real-life cooking.
My Favorite Puppy Chow Balls Tips:
- Use a good quality peanut butter for the best flavor and creaminess.
- Patience is key when coating with powdered sugar—shake well for that perfect dusting.
- Don’t be afraid to mix in a handful of extras like nuts or mini chocolate chips to keep things interesting.
I’ve tried versions with dark chocolate, peanut butter alternatives, and even peppermint extract. While I love each one, I find myself coming back most often to the classic semi-sweet chocolate and peanut butter combo for that comforting balance.
I hope you make this Puppy Chow Balls recipe your own and find the same joy I do in sharing sweet snack balls that bring a little magic without the stress.
For more nourishing ideas, check out my Cream Cheese Sausage Balls and Easy Yaki Onigiri Grilled Rice Balls. Remember, the best recipes are the ones you enjoy and feel good about making.
Enjoy every bite of your Puppy Chow Balls adventure—you deserve it!
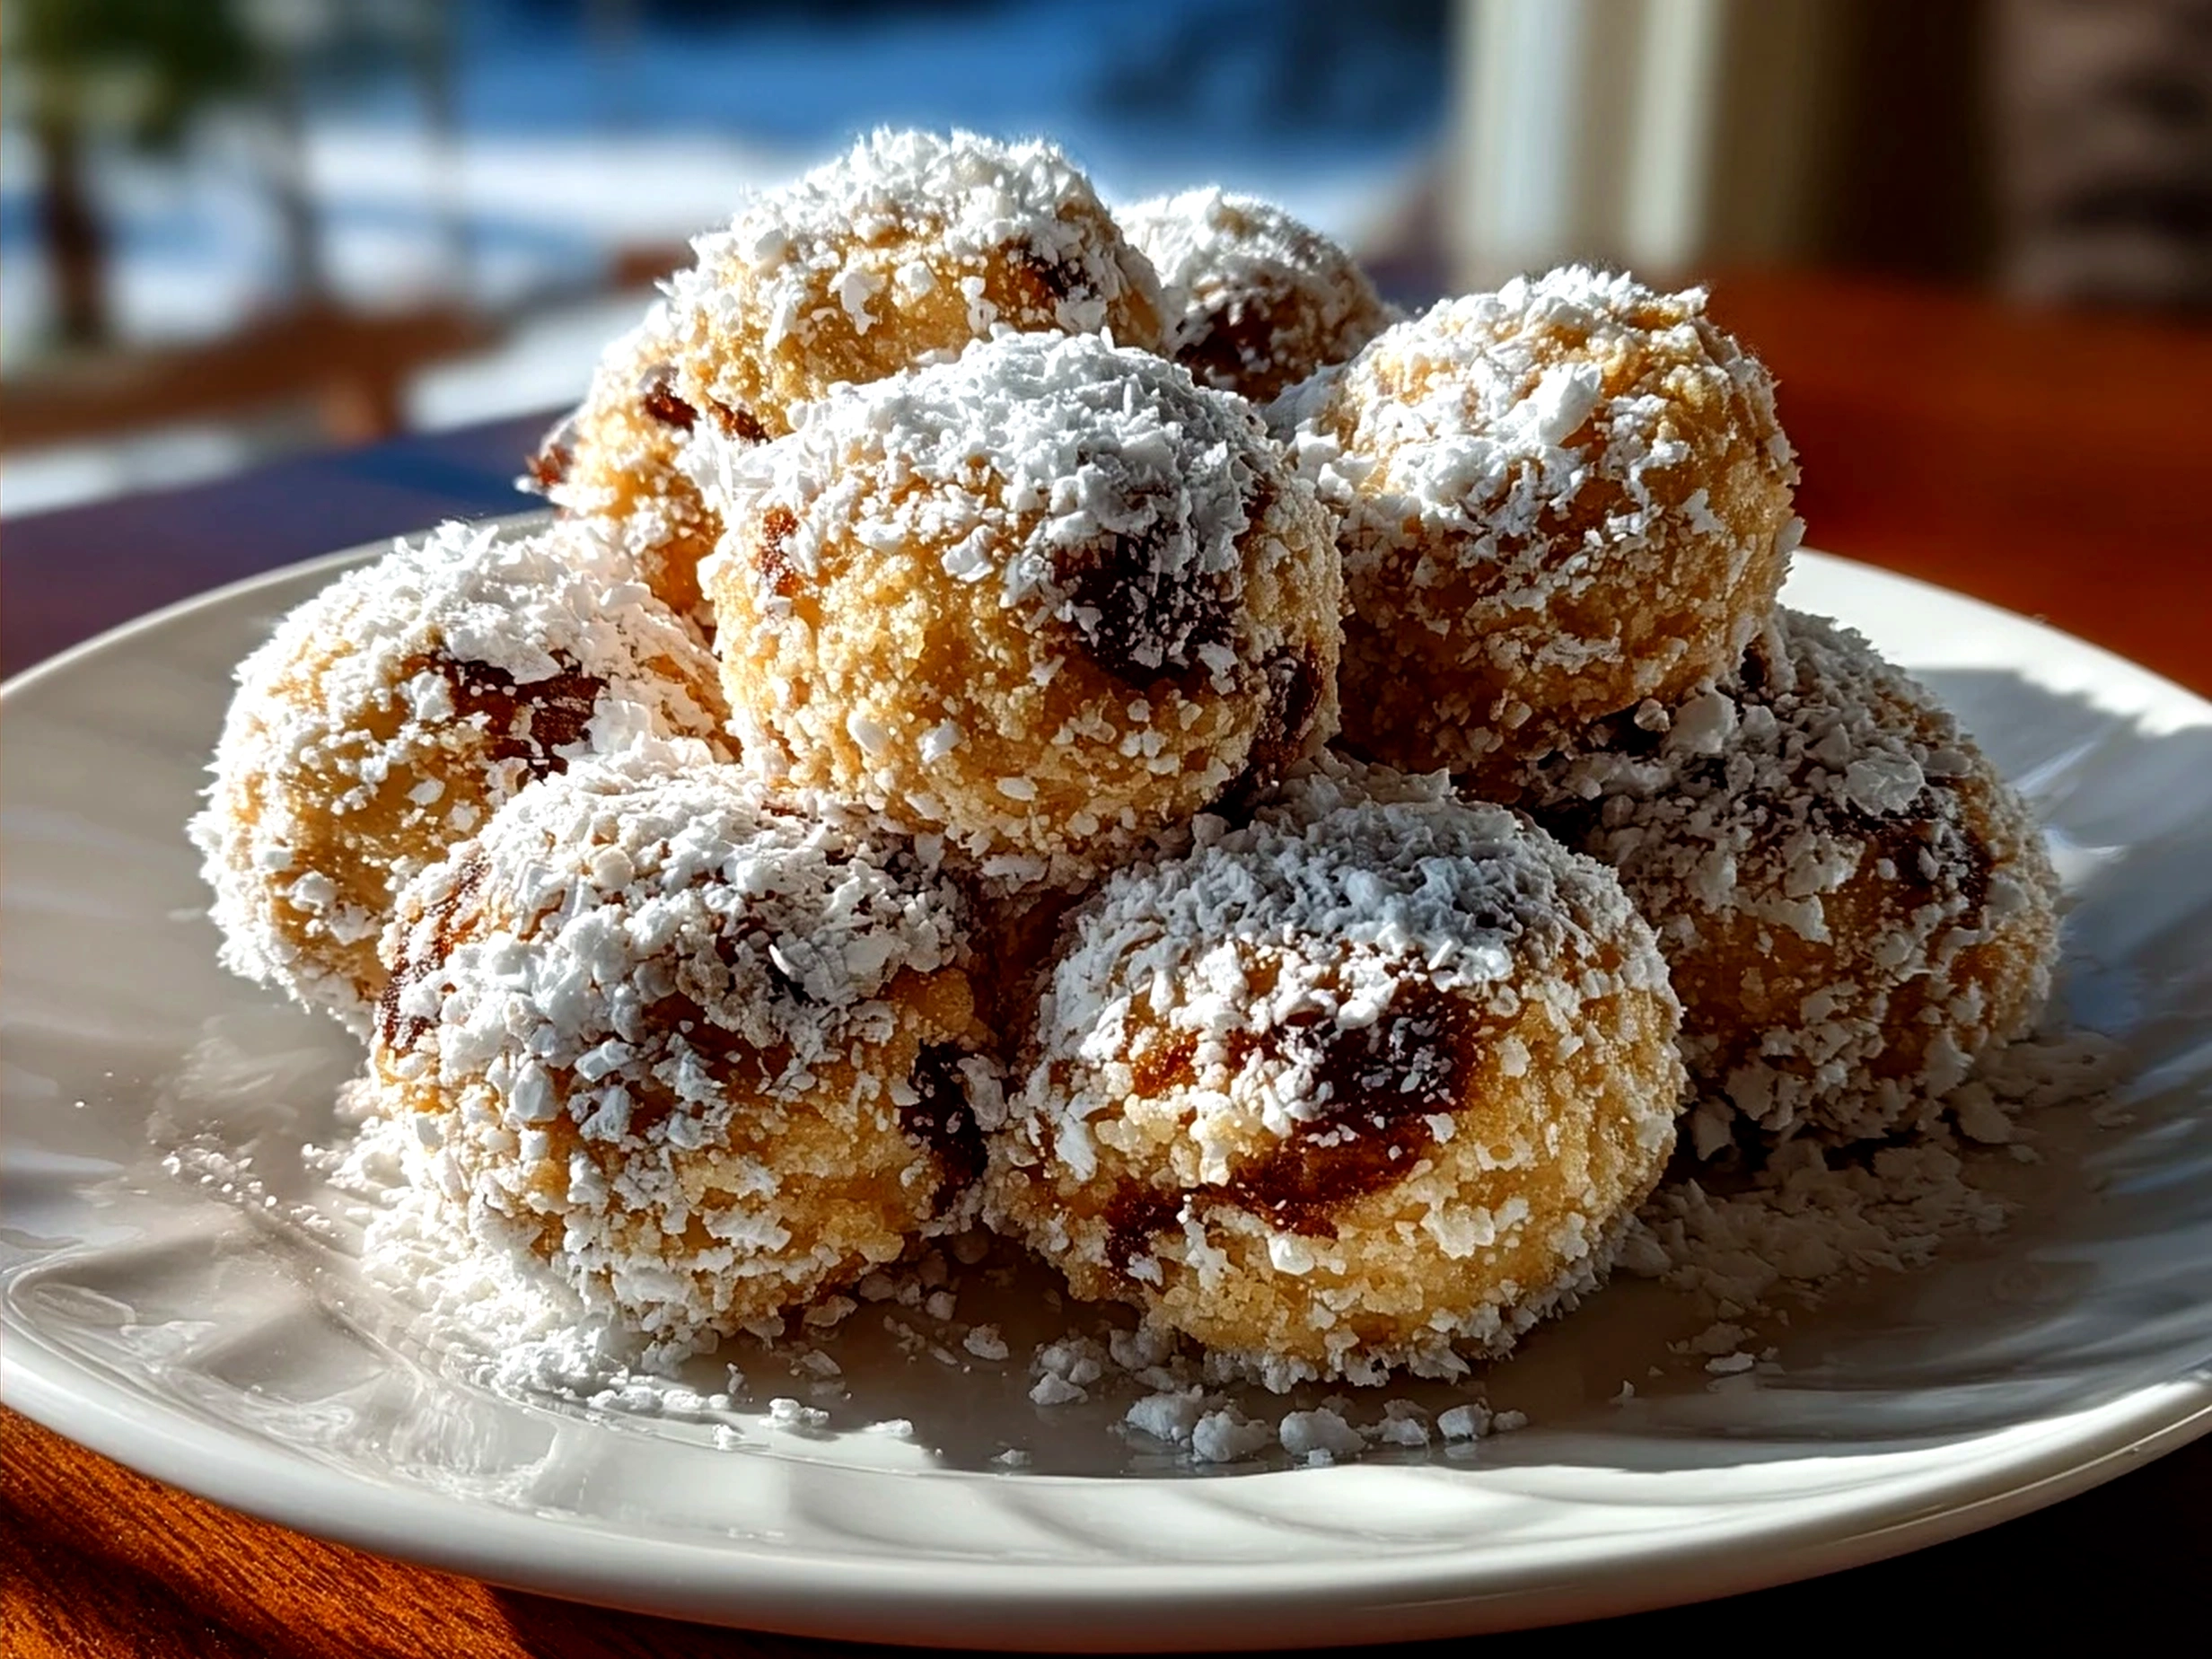
Puppy Chow Balls
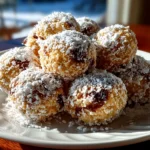
Puppy Chow Balls are a delicious twist on the classic snack, featuring crunchy cereal coated in chocolate and peanut butter, formed into bite-sized treats perfect for any occasion.
- Prep Time: 15 minutes
- Cook Time: 0 minutes
- Total Time: 75 minutes
- Yield: 24 servings
- Category: Snack
- Method: No-Cook
- Cuisine: American
Ingredients
- 9 cups Rice Chex cereal
- 1 cup semisweet chocolate chips
- 1/2 cup creamy peanut butter
- 1/4 cup unsalted butter
- 1 teaspoon vanilla extract
- 1 1/2 cups powdered sugar
Instructions
- In a microwave-safe bowl, combine chocolate chips, peanut butter, and butter. Microwave in 30-second intervals, stirring between each, until smooth and melted.
- Stir in vanilla extract until well combined.
- Place the Rice Chex cereal in a large mixing bowl.
- Pour the chocolate mixture over the cereal and gently stir to coat all pieces evenly.
- Transfer the coated cereal into a large resealable plastic bag.
- Add the powdered sugar, seal the bag, and shake vigorously until every piece is fully coated.
- Spread the mixture out on parchment paper and allow to cool and set for about 30 minutes.
- Once set, form the mixture into small bite-sized balls using your hands or a small scoop.
- Place the balls on a baking sheet lined with parchment paper and refrigerate for at least 1 hour before serving.
Notes
For a nut-free version, substitute peanut butter with sunflower seed butter and ensure chocolate chips are allergy-friendly.