
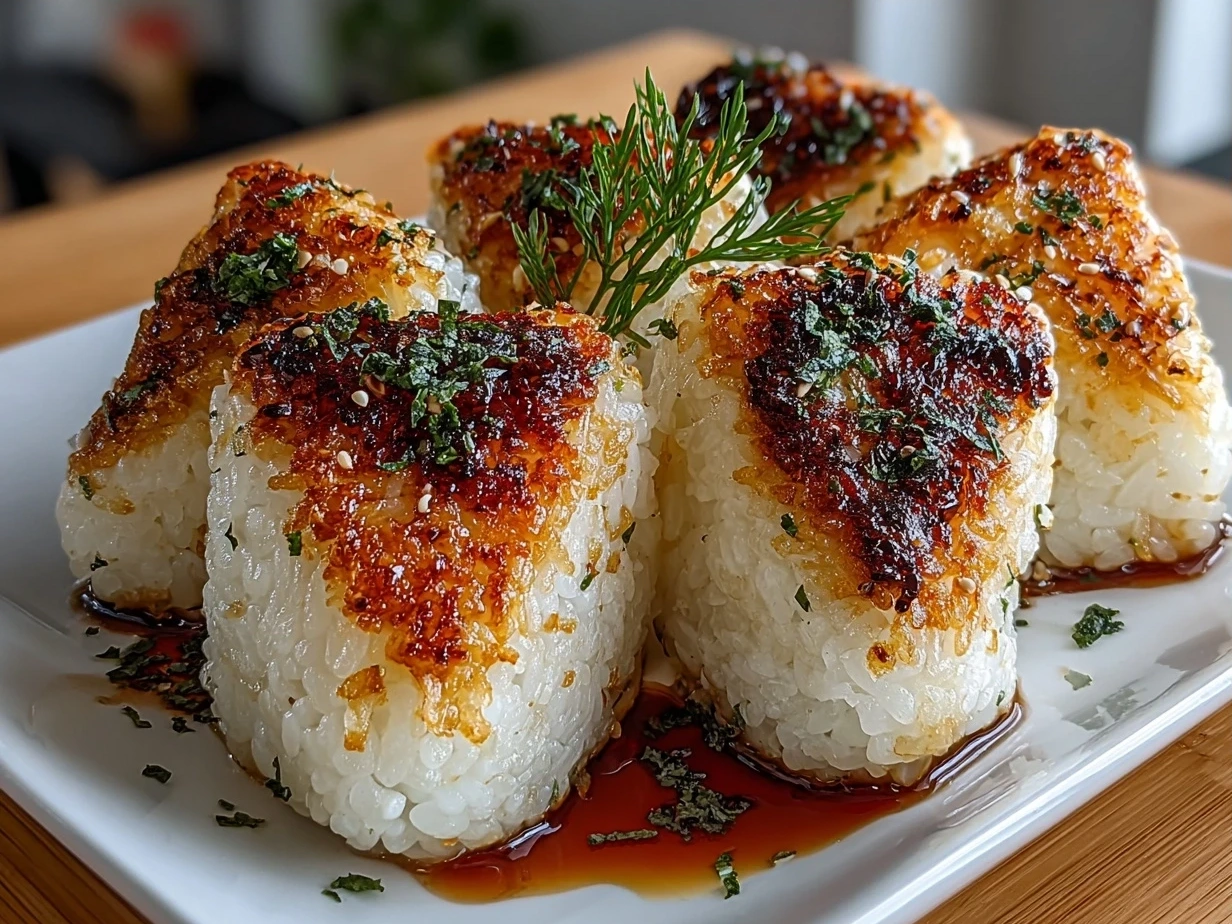
I still remember the first time I made Easy Yaki Onigiri in my own kitchen. It was a chilly weekend afternoon, and I was craving something warm but simple. I’d been curious about grilled rice balls ever since a friend brought some back from a trip to Japan, and I thought, why not give this Japanese onigiri recipe a try? What surprised me the most was how easy it was to blend nourishment and flavor without any complicated steps or hard-to-find ingredients. It quickly became one of those meals that felt good for my body and soul, without the pressure of perfection.
Finding balance with Easy Yaki Onigiri fits so well into my everyday routine. It’s nourishing comfort food that doesn’t demand hours in the kitchen or a million fancy tools. Plus, the flexibility in fillings and the yaki onigiri sauce means I can adapt it to whatever I have on hand or what my family loves. It’s become one of those go-to dishes when I want something hearty but still refreshing enough not to weigh me down.
If you’re a fellow home cook searching for simple, wholesome meals that don’t stress you out, I think you’ll really appreciate this recipe. It’s approachable, forgiving, and can easily roll with your mealtime needs—whether it’s a quick lunch, a light dinner, or a crowd-pleasing snack. Easy Yaki Onigiri is giving me a fresh way to enjoy rice, beyond the usual. It’s feel-good food that’s cozy and vibrant all at once.
What I love most about Easy Yaki Onigiri is how it invites you to enjoy the process, not just the plate. If you want to peek into more kitchen-tested ideas, I found some fun community tips on making grilled rice balls over at Reddit with this Easy Yaki Onigiri thread. It’s such a friendly place for sharing how different folks bring their own twist to this classic.
What You’ll Need:
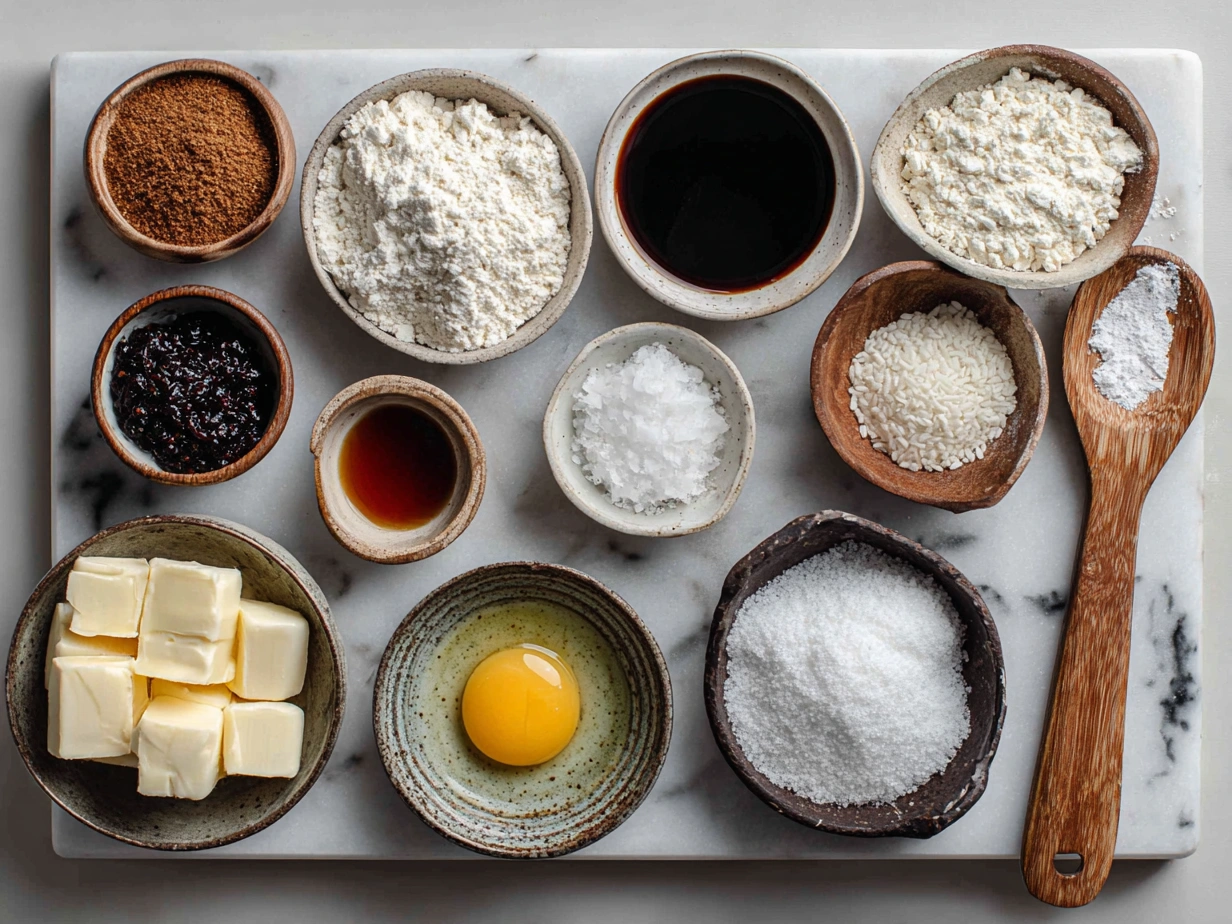
- 2 cups cooked Japanese short-grain rice (or sushi rice for the best sticky texture)
- 2 tablespoons soy sauce (tamari or coconut aminos work well as simple swaps)
- 1 tablespoon mirin (find this in the Asian section or natural grocery store)
- 1 teaspoon sugar (optional, helps balance the savory yaki onigiri sauce)
- 1 tablespoon toasted sesame oil (adds a lovely nutty flavor but can be swapped with olive oil)
- 1 sheet nori seaweed, cut into strips (easy to find in regular grocery stores now)
- Salt to taste
- Optional fillings: cooked salmon flakes, pickled plum (umeboshi), or sautéed shiitake mushrooms
No stress if you don’t have mirin on hand—I often use a splash of rice vinegar mixed with a bit of honey in my Easy Yaki Onigiri sauce for that sweet-tangy kick.
Shopping tip: The rice is the star here, so investing in good-quality Japanese short-grain rice makes all the difference. It really keeps this Easy Yaki Onigiri cost-effective since a little goes a long way.
For busy days, I use leftover rice scooped from the fridge—it’s even better when slightly chilled because it’s easier to shape. Just warm it gently before grilling.
If you have leftovers (though good luck with that!), you can store Easy Yaki Onigiri in an airtight container for up to 2 days in the fridge. Reheat gently in a non-stick pan to keep that crispy outside texture.
One of my favorite Easy Yaki Onigiri tricks is pressing the rice balls just enough to hold together but not too firmly to squash the fluffiness inside. It’s that simple balance that makes a difference.
Let’s Make It Together!
- Start by mixing your yaki onigiri sauce: combine soy sauce, mirin, sugar, and sesame oil in a small bowl. This easy yaki onigiri sauce will bring that savory-sweet magic during grilling. Set it aside.
- Wet your hands with water and lightly salt them to prevent sticking. Scoop about a half cup of cooked rice and gently shape it into a triangle or oval. Don’t worry if your Easy Yaki Onigiri looks a little rustic—that’s the charm!
- If you’re adding fillings like salmon flakes or sautéed mushrooms, make a small indentation in the rice ball and fill it with about a teaspoon. Seal it carefully with more rice.
- Heat a non-stick pan or grill over medium heat. Brush lightly with oil.
- Place your rice balls onto the pan. Grill for about 3 minutes per side until a golden crust forms. While you grill, your kitchen should start smelling wonderfully toasty.
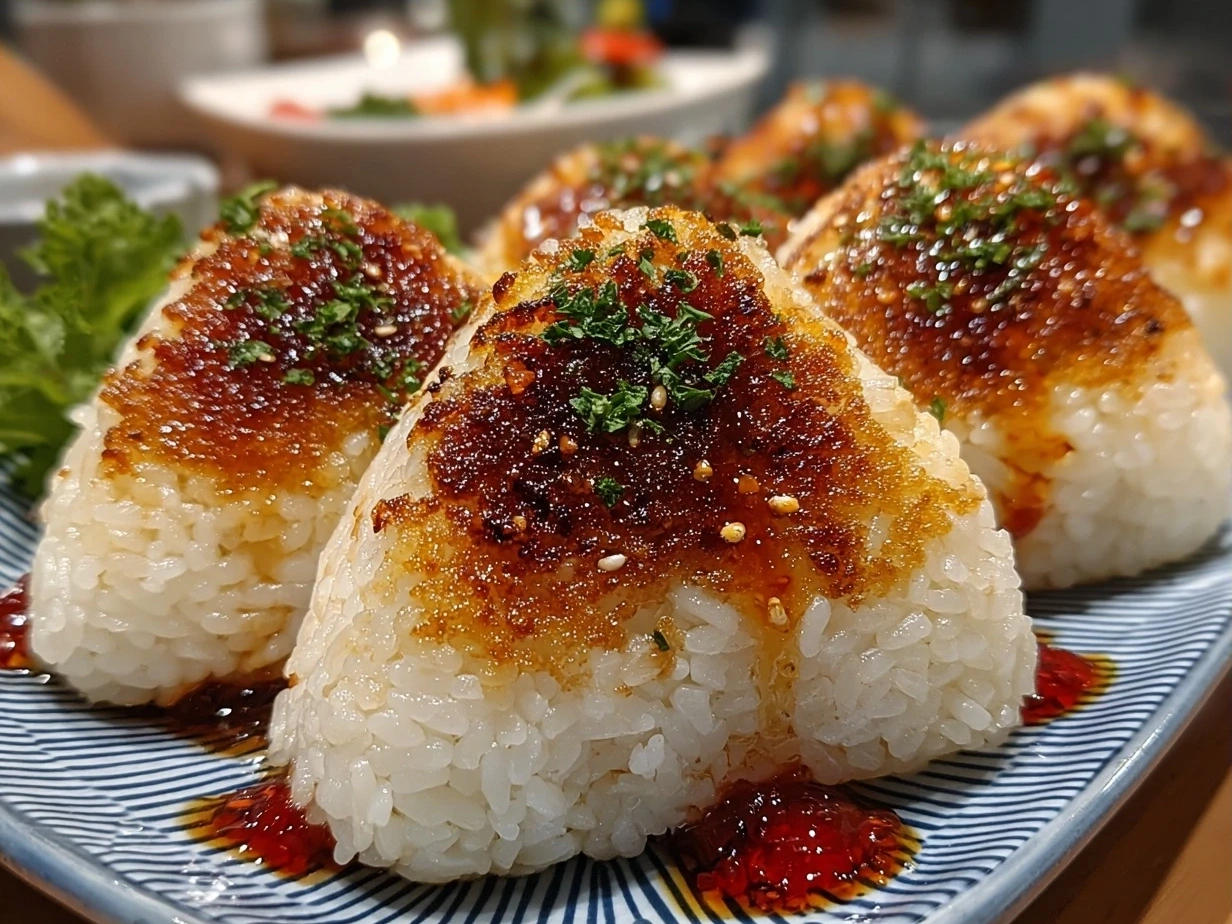
- Brush each side generously with your easy yaki onigiri sauce during the last minute of cooking. This caramelizes the sauce and creates that irresistible umami layer.
- Remove from heat and wrap each rice ball with a nori strip for easy handling.
In my kitchen, this Easy Yaki Onigiri usually takes about 20-25 minutes from start to finish. Perfect time to set the table or prep a simple side like steamed greens or a quick cucumber salad.
Here’s a little kitchen lesson I’ve learned: don’t over-press your rice balls. It’s better to have a tender, fluffy bite with a crisp edge than a dense brick. And don’t be shy with the yaki onigiri sauce—it’s what brings everything together.
How I Love to Serve This!
I often serve Easy Yaki Onigiri alongside a fresh, crunchy pickle mix or a bowl of miso soup. These side dishes keep the meal light yet filling—it’s my go-to combo for cozy weeknights.
This meal also shines at picnics or lunchboxes since the grilled rice balls hold up well and taste amazing even when cooled.
On weekends, I sometimes switch up the fillings with leftover paleo crab or shredded chicken, inspired by my love for hearty salads like the Paleo Crab Louie Salad I shared earlier.
Presentation tip: place your Easy Yaki Onigiri on a simple wooden board, add a few sprigs of fresh herbs, and watch your friends’ eyes light up. I remember a gathering where everyone kept going back for seconds, amazed how grilled rice balls felt both unique and comforting.
For more inspiration, check out this lovely Easy Yaki Onigiri recipe that also explores different flavor combos and grilling methods.
Common Questions Answered
Can I make this Easy Yaki Onigiri ahead for meal prep?
Absolutely! I like to form and grill the rice balls in advance and store them in the fridge. Just reheat in a pan for a few minutes to revive the crispness right before eating.
What if I don’t have all the ingredients for this Easy Yaki Onigiri?
No worries! Soy sauce can be swapped for tamari or coconut aminos. If you’re missing mirin, a splash of rice vinegar with a pinch of sugar does the trick. The key is balancing sweet and salty in your yaki onigiri sauce.
How can I adjust the flavor of this Easy Yaki Onigiri to my taste?
Try adding a little grated ginger to the sauce for warmth or use dashi stock instead of water when cooking your rice to deepen flavor. You can also switch up fillings—some friends love kimchi or shredded roasted veggies inside.
What’s the best rice for Easy Yaki Onigiri?
Japanese short-grain or sushi rice gives you that perfect sticky texture that holds together well without being mushy. It’s worth sourcing, but if you only find medium grain, just soak it a bit longer before cooking.
How do I keep the grilled rice balls from sticking to the pan?
A light brush of oil and moderate heat are key. Don’t move them too soon. Wait until you see a nice crust before flipping.
Can Easy Yaki Onigiri be gluten-free?
Yes, by using gluten-free soy sauce or tamari, all the ingredients can be naturally gluten-free.
Is nori necessary?
Nori adds a nice flavor and makes handling easier but you can absolutely enjoy Easy Yaki Onigiri without it.
If you’re curious about more ways to enjoy this treat, here’s a wonderful community discussion thread on Yaki Onigiri grilled rice balls with loads of practical advice.
Final Thoughts
Easy Yaki Onigiri is one of those dishes I return to when I want comfort food that feels nourishing and doable. It’s a recipe that welcomes both beginners and seasoned cooks because it’s forgiving and flexible.
My Favorite Easy Yaki Onigiri Tips:
- Always wet your hands before shaping rice—that’s a game-changer!
- Don’t skimp on the yaki onigiri sauce; it’s what brings the magic.
- Be gentle when forming the rice balls to keep that perfect fluffy inside.
I’ve tried variations with spicy kimchi filling, sweet miso glaze, and even a cheesy center inspired by my breakfast casseroles like the Cheesy Breakfast Casserole. Each version feels like a new twist on a classic.
Most often, I circle back to the traditional soy-mirin sauce because it’s simple and so satisfying.
If you’re thinking about making this recipe, I encourage you to make it your own. Play with your favorite fillings, swap ingredients, and enjoy the process. Easy Yaki Onigiri can be a fresh way to connect with comforting flavors and real-life cooking.
Before you head off to try it, here’s a fantastic grilled rice balls guide worth bookmarking from the reddit community for extra tips and inspiration: Crispy Yaki Onigiri (Grilled Rice Balls) : r/JapaneseFood.
I’m sending you warm kitchen vibes and hope your Easy Yaki Onigiri turns out just as cozy and satisfying as mine do. Cooking shouldn’t be perfect—it’s about enjoying each step and sharing nourishment with yourself and those you love. Happy grilling!
Easy Yaki Onigiri
Yaki Onigiri are crispy grilled Japanese rice balls with a savory soy glaze, perfect as a quick snack or side dish. This easy recipe brings authentic flavor with minimal ingredients.
- Prep Time: 10 minutes
- Cook Time: 15 minutes
- Total Time: 25 minutes
- Yield: 4 servings
- Category: Snack
- Method: Grilled
- Cuisine: Japanese
Ingredients
- 2 cups Japanese short-grain rice, cooked
- 2 tablespoons soy sauce
- 1 tablespoon mirin
- 1 tablespoon vegetable oil
- Optional: sesame seeds for garnish
Instructions
- Cook the Japanese rice according to package instructions and let it cool slightly.
- With wet hands, shape the rice into triangular or round balls, about 3 inches in size.
- Mix soy sauce and mirin in a small bowl to create the glaze.
- Heat vegetable oil in a non-stick skillet over medium heat.
- Place the rice balls in the skillet and cook until the bottoms are golden and crispy, about 3–4 minutes.
- Brush the tops with the soy glaze and flip to cook the other side, brushing more glaze as you go.
- Continue grilling until both sides are crispy and caramelized, about 8–10 minutes total.
- Remove from heat and optionally sprinkle with sesame seeds before serving.
Notes
For extra flavor, try stuffing the rice balls with a small amount of miso paste or pickled plum (umeboshi) before grilling.