
You know that moment when you realize something you’ve always thought of as a special treat can actually fit into your everyday eating without all the guilt or fuss? For me, that moment came with a Cheesecake Slab. I used to think cheesecake was this complicated, indulgent dessert, best reserved for celebrations or weekends. But then, I had a little kitchen experiment with a no-bake cheesecake slab that completely changed my mind.
I was hosting a small get-together with friends one warm afternoon, juggling work and the usual chaos of home life. I wanted something delicious and a little indulgent, but still nourishing enough that I wouldn’t feel like I’d wrecked my balanced eating for the week. So, I tried a simple spun-up cream cheese dessert in the form of a Cheesecake Slab. The surprising part? It was easy, quick, and didn’t need a hundred ingredients or hours of baking. Plus, it tasted amazing—creamy, just sweet enough, and with a crunchy crust to balance things out.
Since that day, Cheesecake Slab has become one of my favorite go-to dessert slab recipes. It fits right into the rhythm of life here—no stress, no pressure to be perfect, just feel-good food that I want to share with my family and friends. This is the kind of recipe that helps me stick to a balanced, nourishing eating pattern without feeling like I’m sacrificing flavor or joy. It keeps things real and doable.
If you’re like me, juggling all the daily to-dos and trying to nourish your body without making it a complicated chore, this Cheesecake Slab might just become your new kitchen buddy. I love sharing these little discoveries with fellow home cooks who want tasty, simple, and satisfying food that really fits into life. Ready to dive into this creamy, dreamy cheesecake bar? Let’s go!
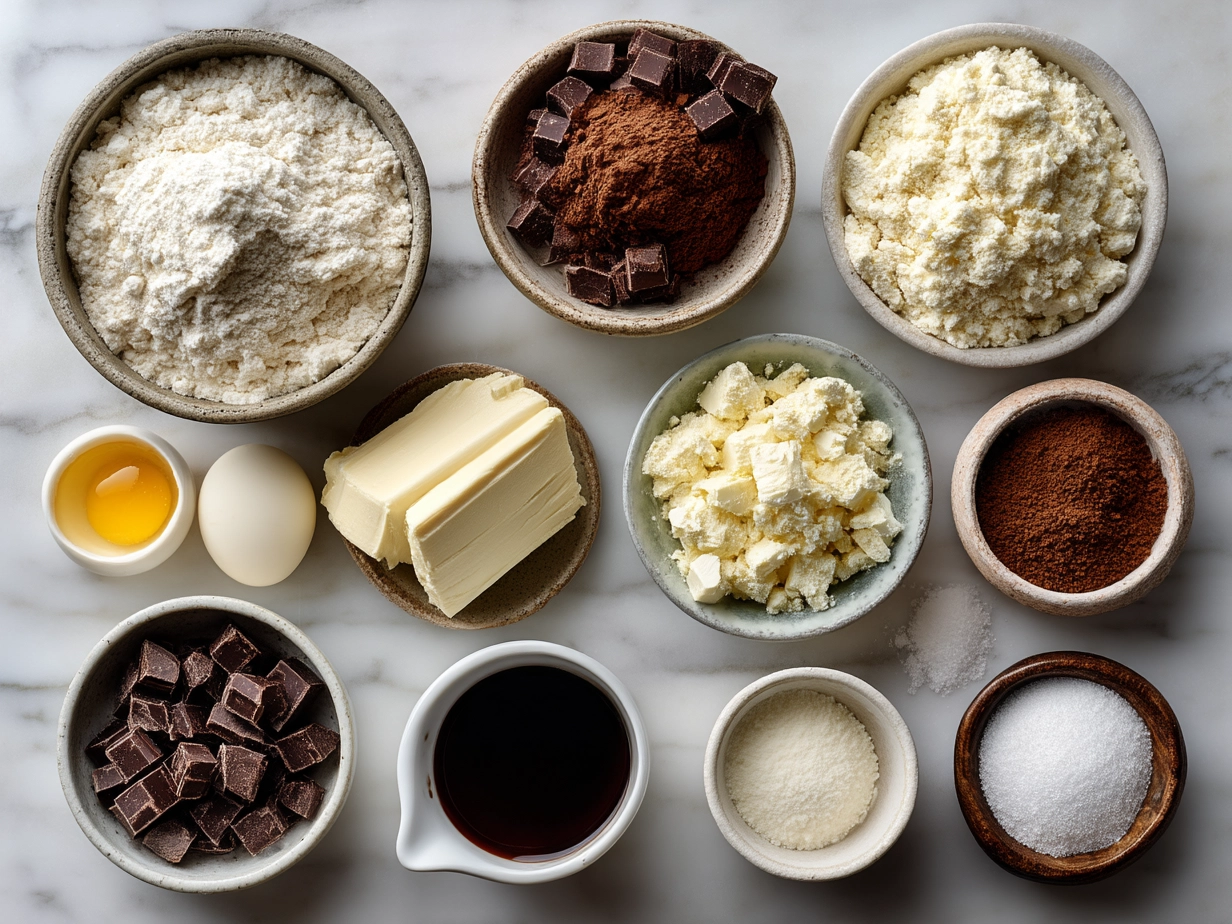
What You’ll Need:
Here’s my basic Cheesecake Slab ingredient list—it’s all straightforward because simple is better in the kitchen.
- 1 1/2 cups graham cracker crumbs (or digestive biscuits, crushed)
- 1/4 cup coconut oil (melted; you can swap for butter if you prefer)
- 16 ounces (450g) cream cheese (room temperature)
- 1 cup Greek yogurt or sour cream (for creaminess and a touch of tang; full-fat is great)
- 3/4 cup powdered sugar (adjust to taste; powdered works best for smooth texture)
- 1 tablespoon vanilla extract (the secret to that comforting flavor)
- Fresh berries or fruit, for topping (optional but lovely!)
No stress if you don’t have Greek yogurt around—I often use sour cream or even a bit of mascarpone in my Cheesecake Slab instead. The cream cheese dessert depends on nice textures more than fancy ingredients. You’ll usually find cream cheese and the yogurt right in the dairy section of your grocery store.
To keep the budget kind to your wallet, this Cheesecake Slab sticks to pantry staples and a few fresh toppings. Crushing your own crackers saves a few pennies too. A little kitchen tip: melt the coconut oil right before mixing the crust to avoid it solidifying too fast, especially if your kitchen is cool.
If you’re pressed for time, feel free to buy pre-crushed graham crackers or use a food processor to speed things up. Leftover Cheesecake Slab keeps well covered in the fridge for about 4 days, perfect if you want to have dessert ready to go during a busy week.
I love adding extra fresh lemon zest in my cheesecake bar for an extra zing on busy evenings, it brightens the cream cheese dessert beautifully.
Let’s Make It Together!
Here’s my simple, no-fuss way to whip up a Cheesecake Slab. It usually takes me about 30 minutes total, plus chilling time. Perfect for a weekend treat or a midweek pick-me-up.
- Start with the crust. Mix the graham cracker crumbs and melted coconut oil in a bowl. Press this evenly into a lined 9×13-inch pan. I find pressing it down firmly with a flat-bottomed glass works wonders for a sturdy base that holds together when cutting.
- Pop the crust into the fridge for at least 10 minutes while you prep your cheesecake filling. This little chill helps it set up nicely.
- In a large bowl, beat the cream cheese until smooth and creamy—no lumps! Using a hand mixer really helps here.
- Add your Greek yogurt (or sour cream), powdered sugar, and vanilla, beating well after each addition. Your mixture should be smooth and fluffy, nothing gritty or dense.
- Spread the cream cheese mixture gently over the chilled crust. Use an offset spatula or the back of a spoon to get a nice even layer.
- Top with fresh berries or your choice of fruit. I like to lightly press them in so they stick but stay pretty. It gives the dessert slab a fresh pop that everyone loves.
- Cover and chill your cheesecake slab in the fridge for at least 4 hours, or overnight if you can. This no-bake cheesecake slab firming step is key to getting that silky texture.
Don’t worry if your cheesecake slab looks extra soft right after spreading. It will set up beautifully with some chill time. While waiting, set your table, prep a simple side (like fresh fruit salad), or brew your favorite coffee.
For a baked cheesecake sheet version, you can bake this in the oven at 325°F (160°C) for about 40 minutes instead of chilling. Just keep an eye on it—it should be set but still slightly jiggly in the middle.
My kitchen-tested shortcut? If you forget to chill the base first, just press it down again after adding the filling and pop the whole slab in the fridge. It usually turns out just fine.
P.S. If you’re looking for some inspiration, check out this decadent chocolate cheesecake for another twist on the classic cheesecake bar or the raw vegan blueberry cheesecake bars for a fresh take.
How I Love to Serve This!
This Cheesecake Slab is one of those dishes that feel right whether it’s a casual weeknight dessert or a weekend indulgence. I often serve mine plain with a simple drizzle of honey and a sprinkle of toasted nuts for texture.
On warm days, fresh berries right from the farmers’ market do all the work for me. The bright, juicy fruit pairs so well with that creamy richness in the cheesecake bar. It’s simple and satisfying.
I also like to have this cheesecake slab alongside a cup of coffee or tea for relaxed afternoon chats with friends. It’s the perfect size for sharing without too many crumbs or fuss.
For a budget-friendly side, a bowl of sliced stone fruit or even a small leafy salad works surprisingly well. It keeps the whole experience feeling fresh and balanced instead of overly sweet.
If you’re hosting a party or a bigger group, a fun idea is to cut the slab into mini squares and arrange them on a pretty platter with topping variations—a little bit of cinnamon sugar, some chocolate shavings, or a drizzle of fruit compote. It’s always a hit!
Your leftovers? They’re great in a little container with fresh fruit for an easy breakfast or snack. I’ve also frozen slices of baked cheesecake sheet versions wrapped well, so that little lux treat is ready whenever I need it.
Many of my friends have asked for this cheesecake slab recipe after trying it at gatherings—there’s something about its fuss-free nature that people love.
If you’re curious about other variations or want to see someone else’s take on a cheesecake slab idea, check out this easy Christmas cheesecake slab from RecipeTin Eats or the beautiful cheesecake bars with all the berries from Smitten Kitchen.
Common Questions Answered
- Can I make this Cheesecake Slab ahead for meal prep?
Absolutely! In fact, making it ahead is a real time saver. I usually prep mine the day before, so it has plenty of chill time to set the cream cheese dessert. It keeps beautifully fresh for 3-4 days in the fridge. - What if I don’t have all the ingredients for this Cheesecake Slab?
There’s always room for simple swaps. Don’t have graham crackers? Digestive biscuits or even some crushed oats can work in the crust. Greek yogurt can be swapped with sour cream or mascarpone, and powdered sugar can be replaced with maple syrup or honey—just add gradually to taste. - How can I adjust the flavor of this Cheesecake Slab to my taste?
Easy! Add lemon zest or a splash of citrus juice to the cream cheese mixture for brightness. You can also fold in a bit of cocoa powder for a chocolate cheesecake slab or swirl in some fruit preserves to mix up the flavors. - Is this a no-bake cheesecake slab or do I need to bake it?
This recipe is a classic no-bake cheesecake slab, perfect for warm days and when you want to keep things simple. But if you prefer, you can bake a cheesecake sheet version at 325°F for about 40 minutes, then chill afterward. - How do I slice the Cheesecake Slab without it falling apart?
A good kitchen tip is to use a sharp knife dipped in hot water, wiped dry between slices. It gives clean cuts without dragging the cream cheese dessert apart. - Can I freeze leftover Cheesecake Slab?
Yes! Especially the baked cheesecake sheet slabs freeze well. Slice before freezing, wrap tightly in plastic wrap, then store in an airtight container. Thaw overnight in the fridge before enjoying. - Where else can I find inspiration for Cheesecake Slabs?
If you want to see fun large-batch ideas, take a peek at this pumpkin cheesecake bar recipe for 300 people on Facebook. It’s wild but fun for big gatherings! For cozy wintertime versions, RecipeTin Eats’ easy Christmas cheesecake slab is delicious and festive.
Final Thoughts
Cheesecake Slab has earned a treasured spot in my kitchen routine because it’s simple, flexible, and feels nourishing without fuss. It’s one of those desserts that’s easy to love and easy to make, which keeps me coming back time and again.
My Favorite Cheesecake Slab Tips:
– Always chill the crust before adding the filling—that crisp base makes all the difference.
– Use room-temperature cream cheese for the smoothest cream cheese dessert texture.
– Fresh fruit toppings bring brightness and make it feel special with zero extra effort.
I’ve tried all kinds of variations—from lemon zest and blueberry toppings to chocolate swirls and even a baked cheesecake sheet version. But the classic no-bake cheesecake slab with a berry topping? That’s my go-to time and time again.
I hope you find a version of the cheesecake slab that feels like your own—something you can make easily and enjoy without any pressure. There’s so much joy in simple, nourishing food shared with people you love.
If you’re longing for more delicious ideas in this comforting cheesecake bar world, you might want to check out my Brown Butter Cheesecake Delight or the Decadent Chocolate Cheesecake for a richer twist.
Here’s to delicious, simple Cheesecake Slab moments in your kitchen! You’ve got this.
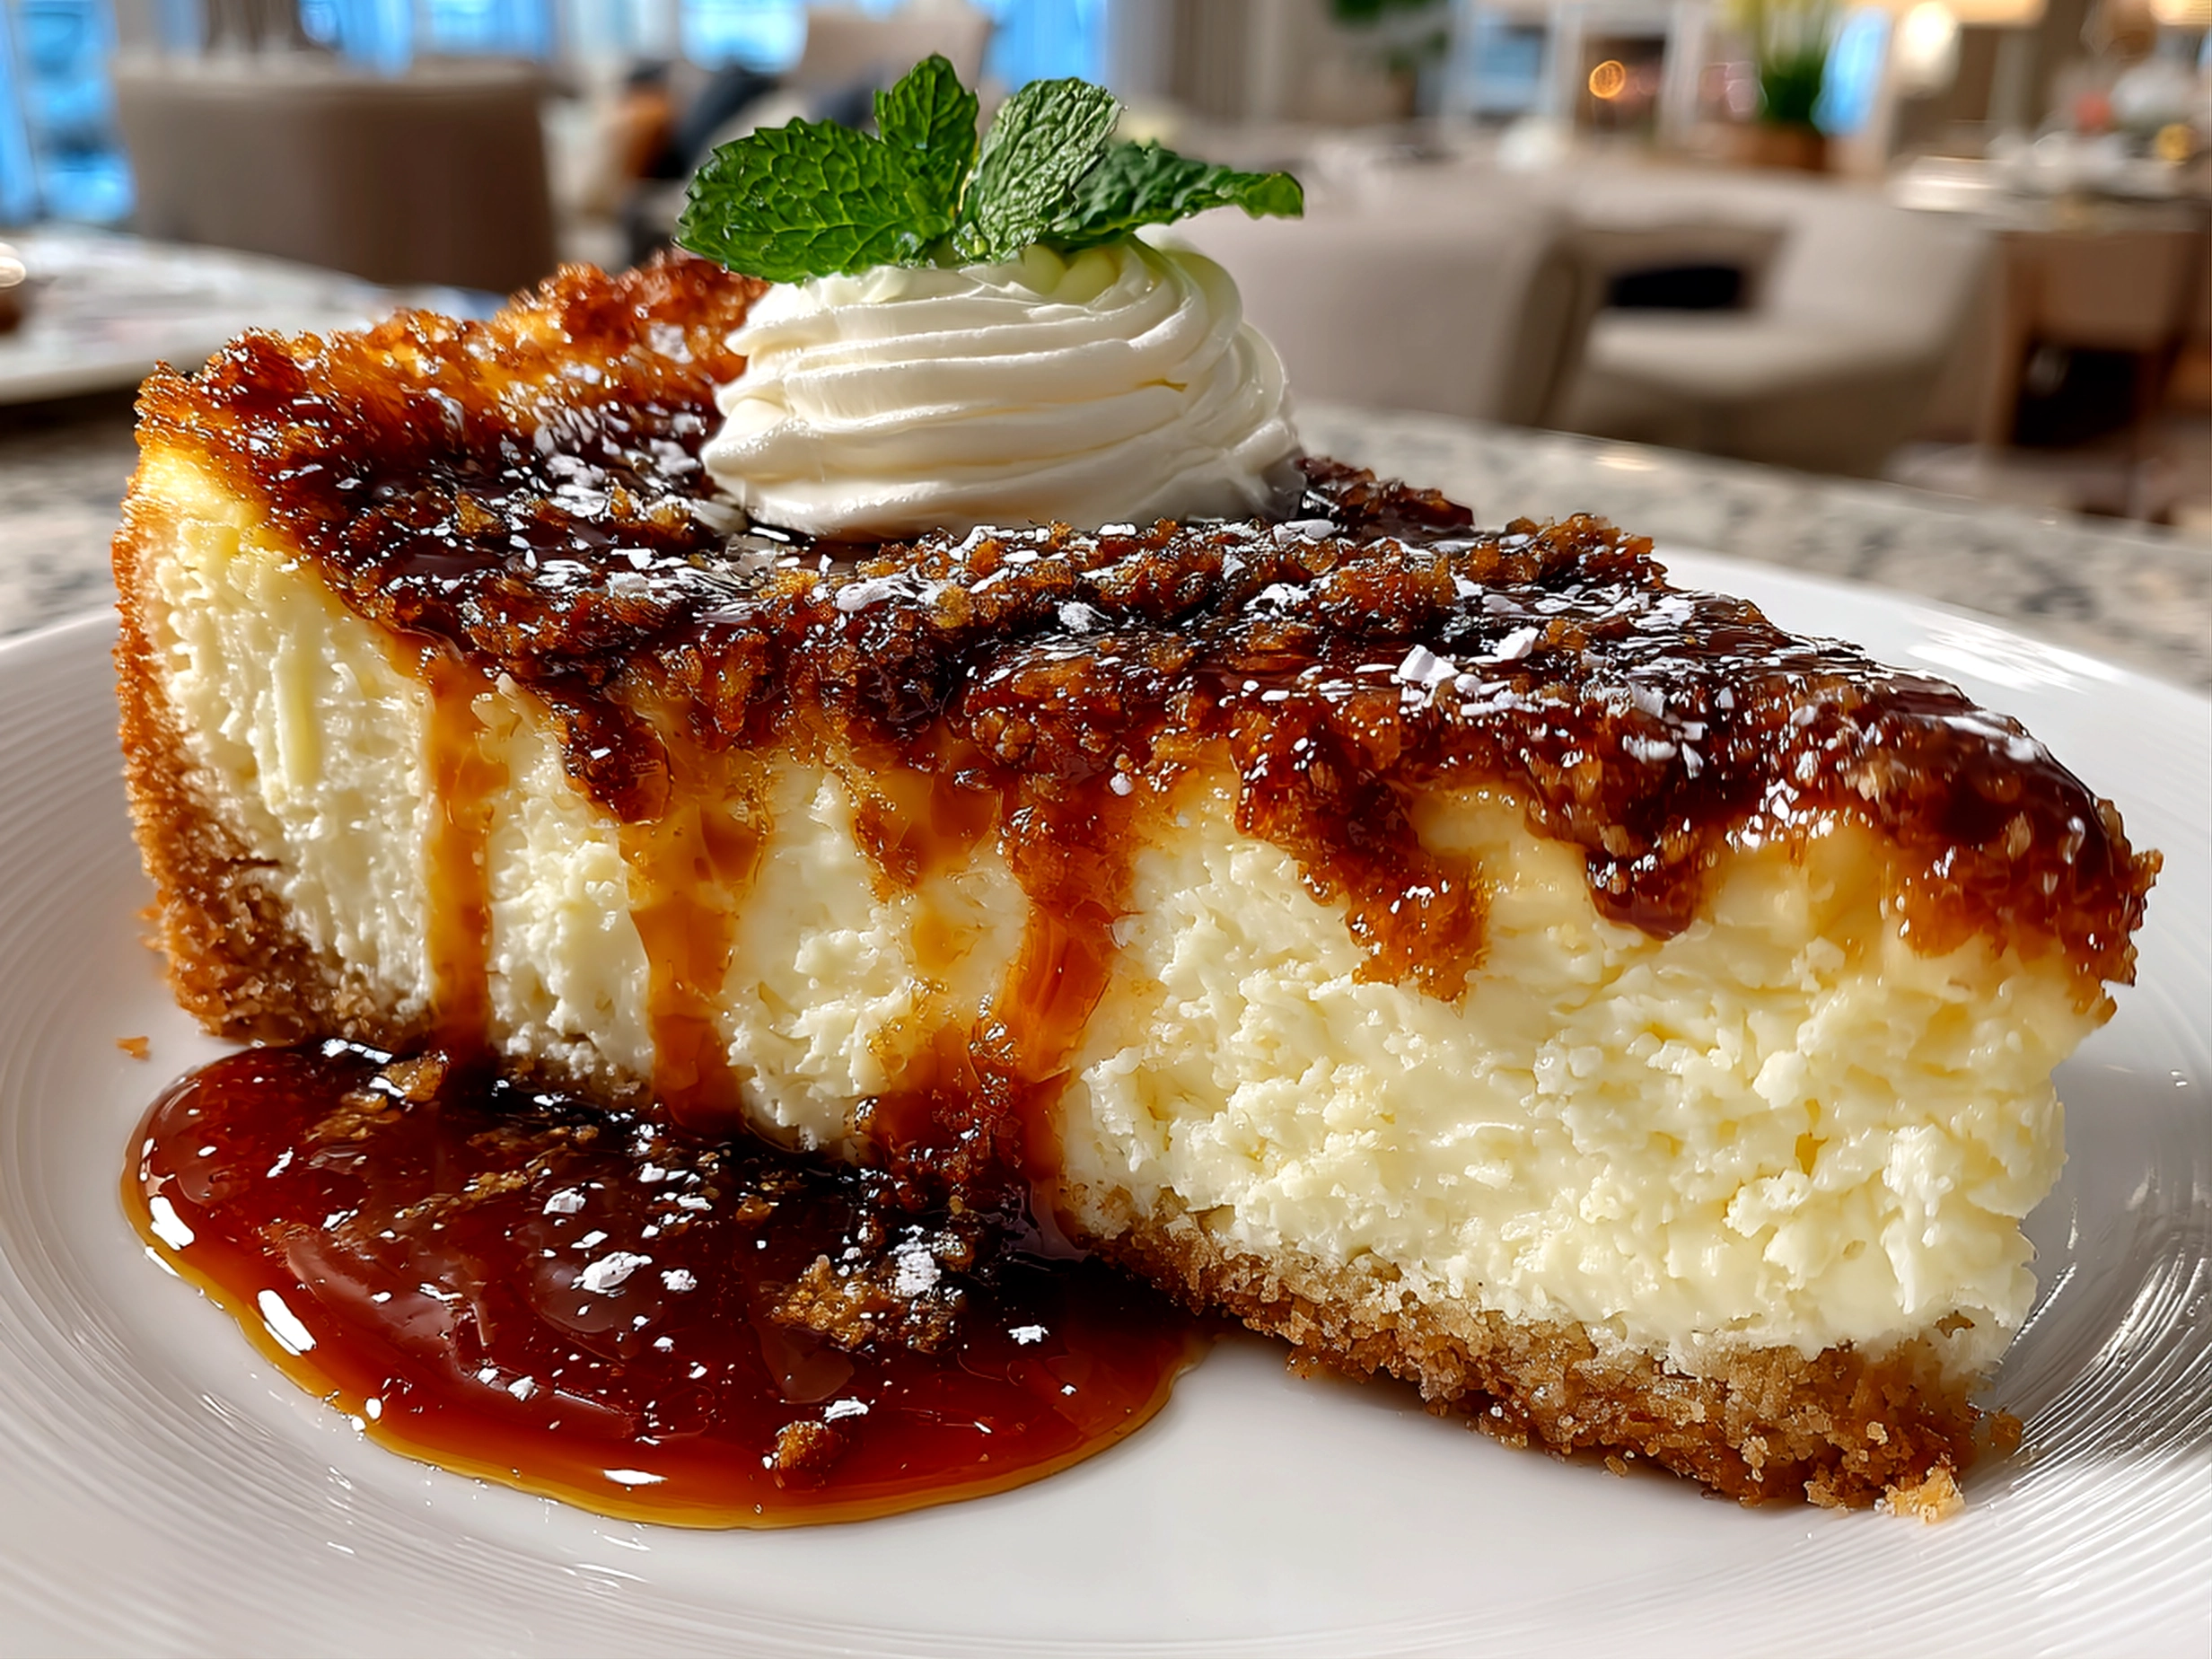
Cheesecake Slab

This creamy and decadent Cheesecake Slab is perfect for sharing, featuring a smooth cream cheese filling on a buttery biscuit crust, making it an irresistible dessert for any occasion.
- Prep Time: 20 minutes
- Cook Time: 50 minutes
- Total Time: 5 hours 10 minutes
- Yield: 12 servings
- Category: Dessert
- Method: Baked
- Cuisine: American
Ingredients
- 300g digestive biscuits, crushed
- 150g unsalted butter, melted
- 600g cream cheese, softened
- 200g caster sugar
- 3 large eggs
- 200ml sour cream
- 1 tsp vanilla extract
- 1 tbsp lemon juice
Instructions
- Preheat the oven to 160°C (320°F). Line a rectangular baking tin with baking parchment.
- Combine the crushed digestive biscuits with melted butter and press firmly into the base of the tin to form the crust.
- In a large bowl, beat the cream cheese and caster sugar until smooth and creamy.
- Add the eggs one at a time, mixing well after each addition.
- Stir in the sour cream, vanilla extract, and lemon juice until fully combined.
- Pour the cheesecake mixture over the biscuit base, smoothing the top with a spatula.
- Bake for 45-50 minutes until the center is almost set but still slightly wobbly.
- Turn off the oven and leave the cheesecake inside with the door slightly open for 1 hour.
- Remove from the oven and chill in the refrigerator for at least 4 hours or overnight before slicing into slabs.
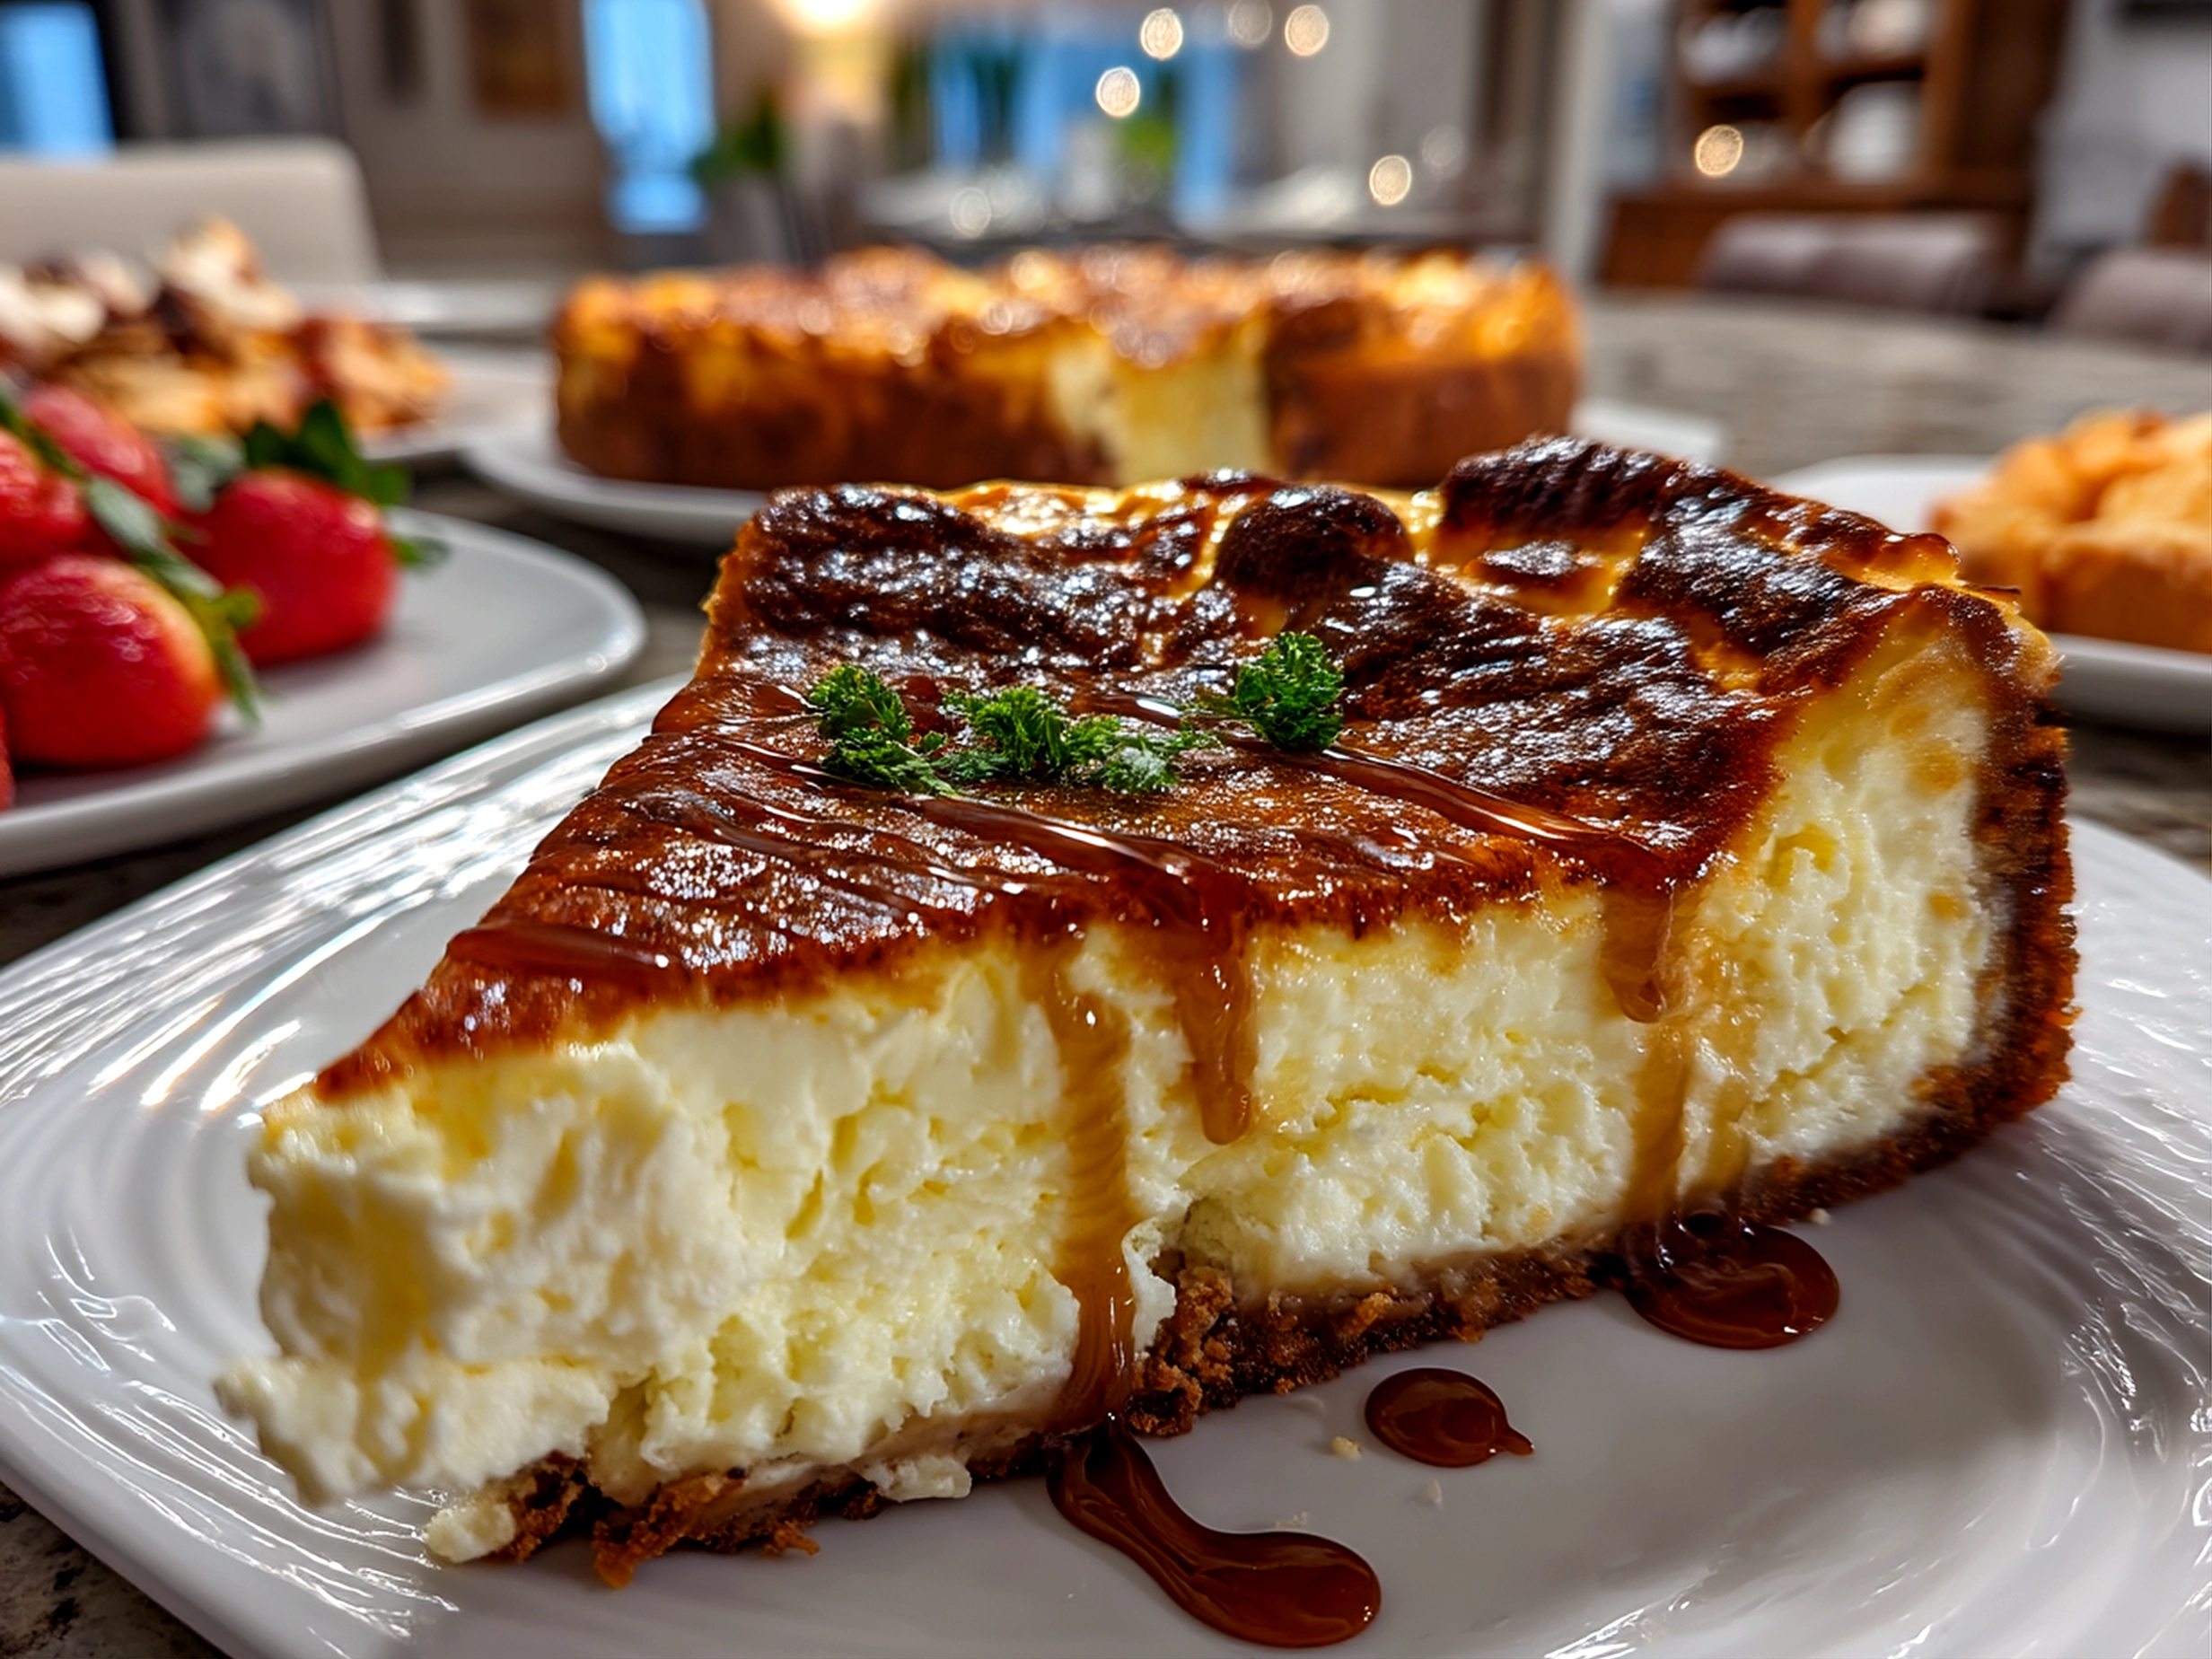
Notes
For an extra touch, top with fresh berries or drizzle a berry coulis before serving.