
I remember the exact moment I discovered my go-to No Fail Fudge recipe. It was a late Saturday afternoon, and I was in my cozy kitchen, the windows open to a soft spring breeze. I had promised a batch of something sweet and nourishing for a visit from my niece, who was craving chocolate but also loved when I sneak in good-for-you ingredients. I tried a few quick chocolate fudge recipes before, but they often left me second-guessing—too grainy, too sticky, or needing fancy tools like a thermometer. This time, I decided to trust a simple No Fail Fudge approach, focusing on ingredients I could find easily, with no stress about precision.
This No Fail Fudge quickly turned out creamy and just sweet enough, balancing indulgence with a touch of nourishing. It felt like a little moment of everyday joy without any complicated rules. This recipe became a staple for my kitchen because it fits perfectly into real life—no fancy equipment, just simple steps and ingredients, and yes, that lovely creamy texture you want from homemade fudge. Being able to whip up this No Fail Fudge without any anxiety felt like a small victory, especially on hectic days.
If you’re a fellow home cook looking for a quick, nourishing treat that feels like a hug in your kitchen, this No Fail Fudge is for you. No perfection required, just a delicious, feel-good recipe you can rely on anytime you want chocolate magic.
What You’ll Need:
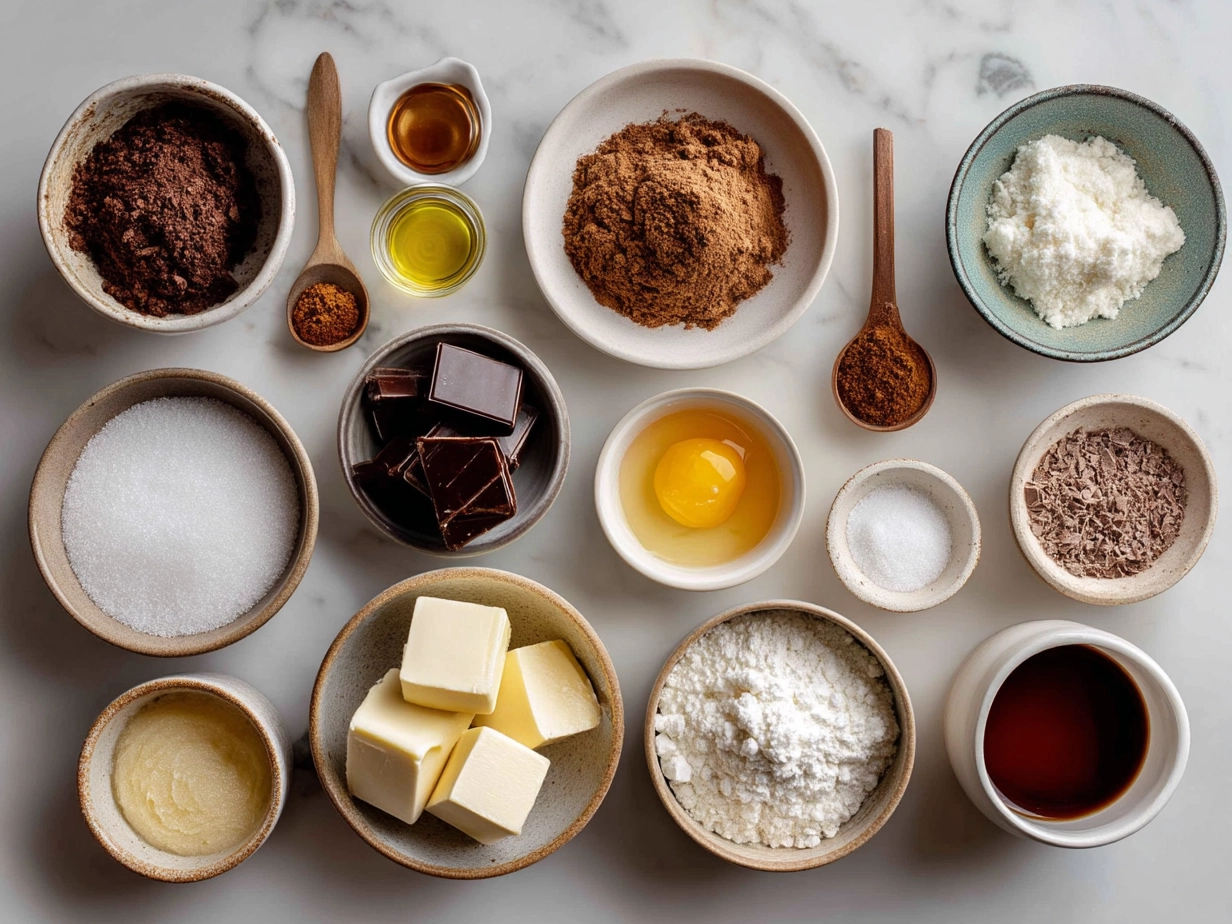
- 2 cups (350g) dark chocolate chips or chopped dark chocolate – I love 70% cacao for a rich, smooth homemade creamy fudge. No stress if you don’t have dark chocolate; semi-sweet or even milk chocolate works for this No Fail Fudge.
- 1 cup (240ml) sweetened condensed milk – This is the magic ingredient that makes quick chocolate fudge so creamy without needing a thermometer. You can find it in the baking aisle or the regular grocery section.
- 1/4 cup (60g) unsalted butter – I usually use salted because it adds a nice balance to the sweetness, but unsalted works great here.
- 1 teaspoon pure vanilla extract – Adds warmth and depth to this fail-proof fudge formula.
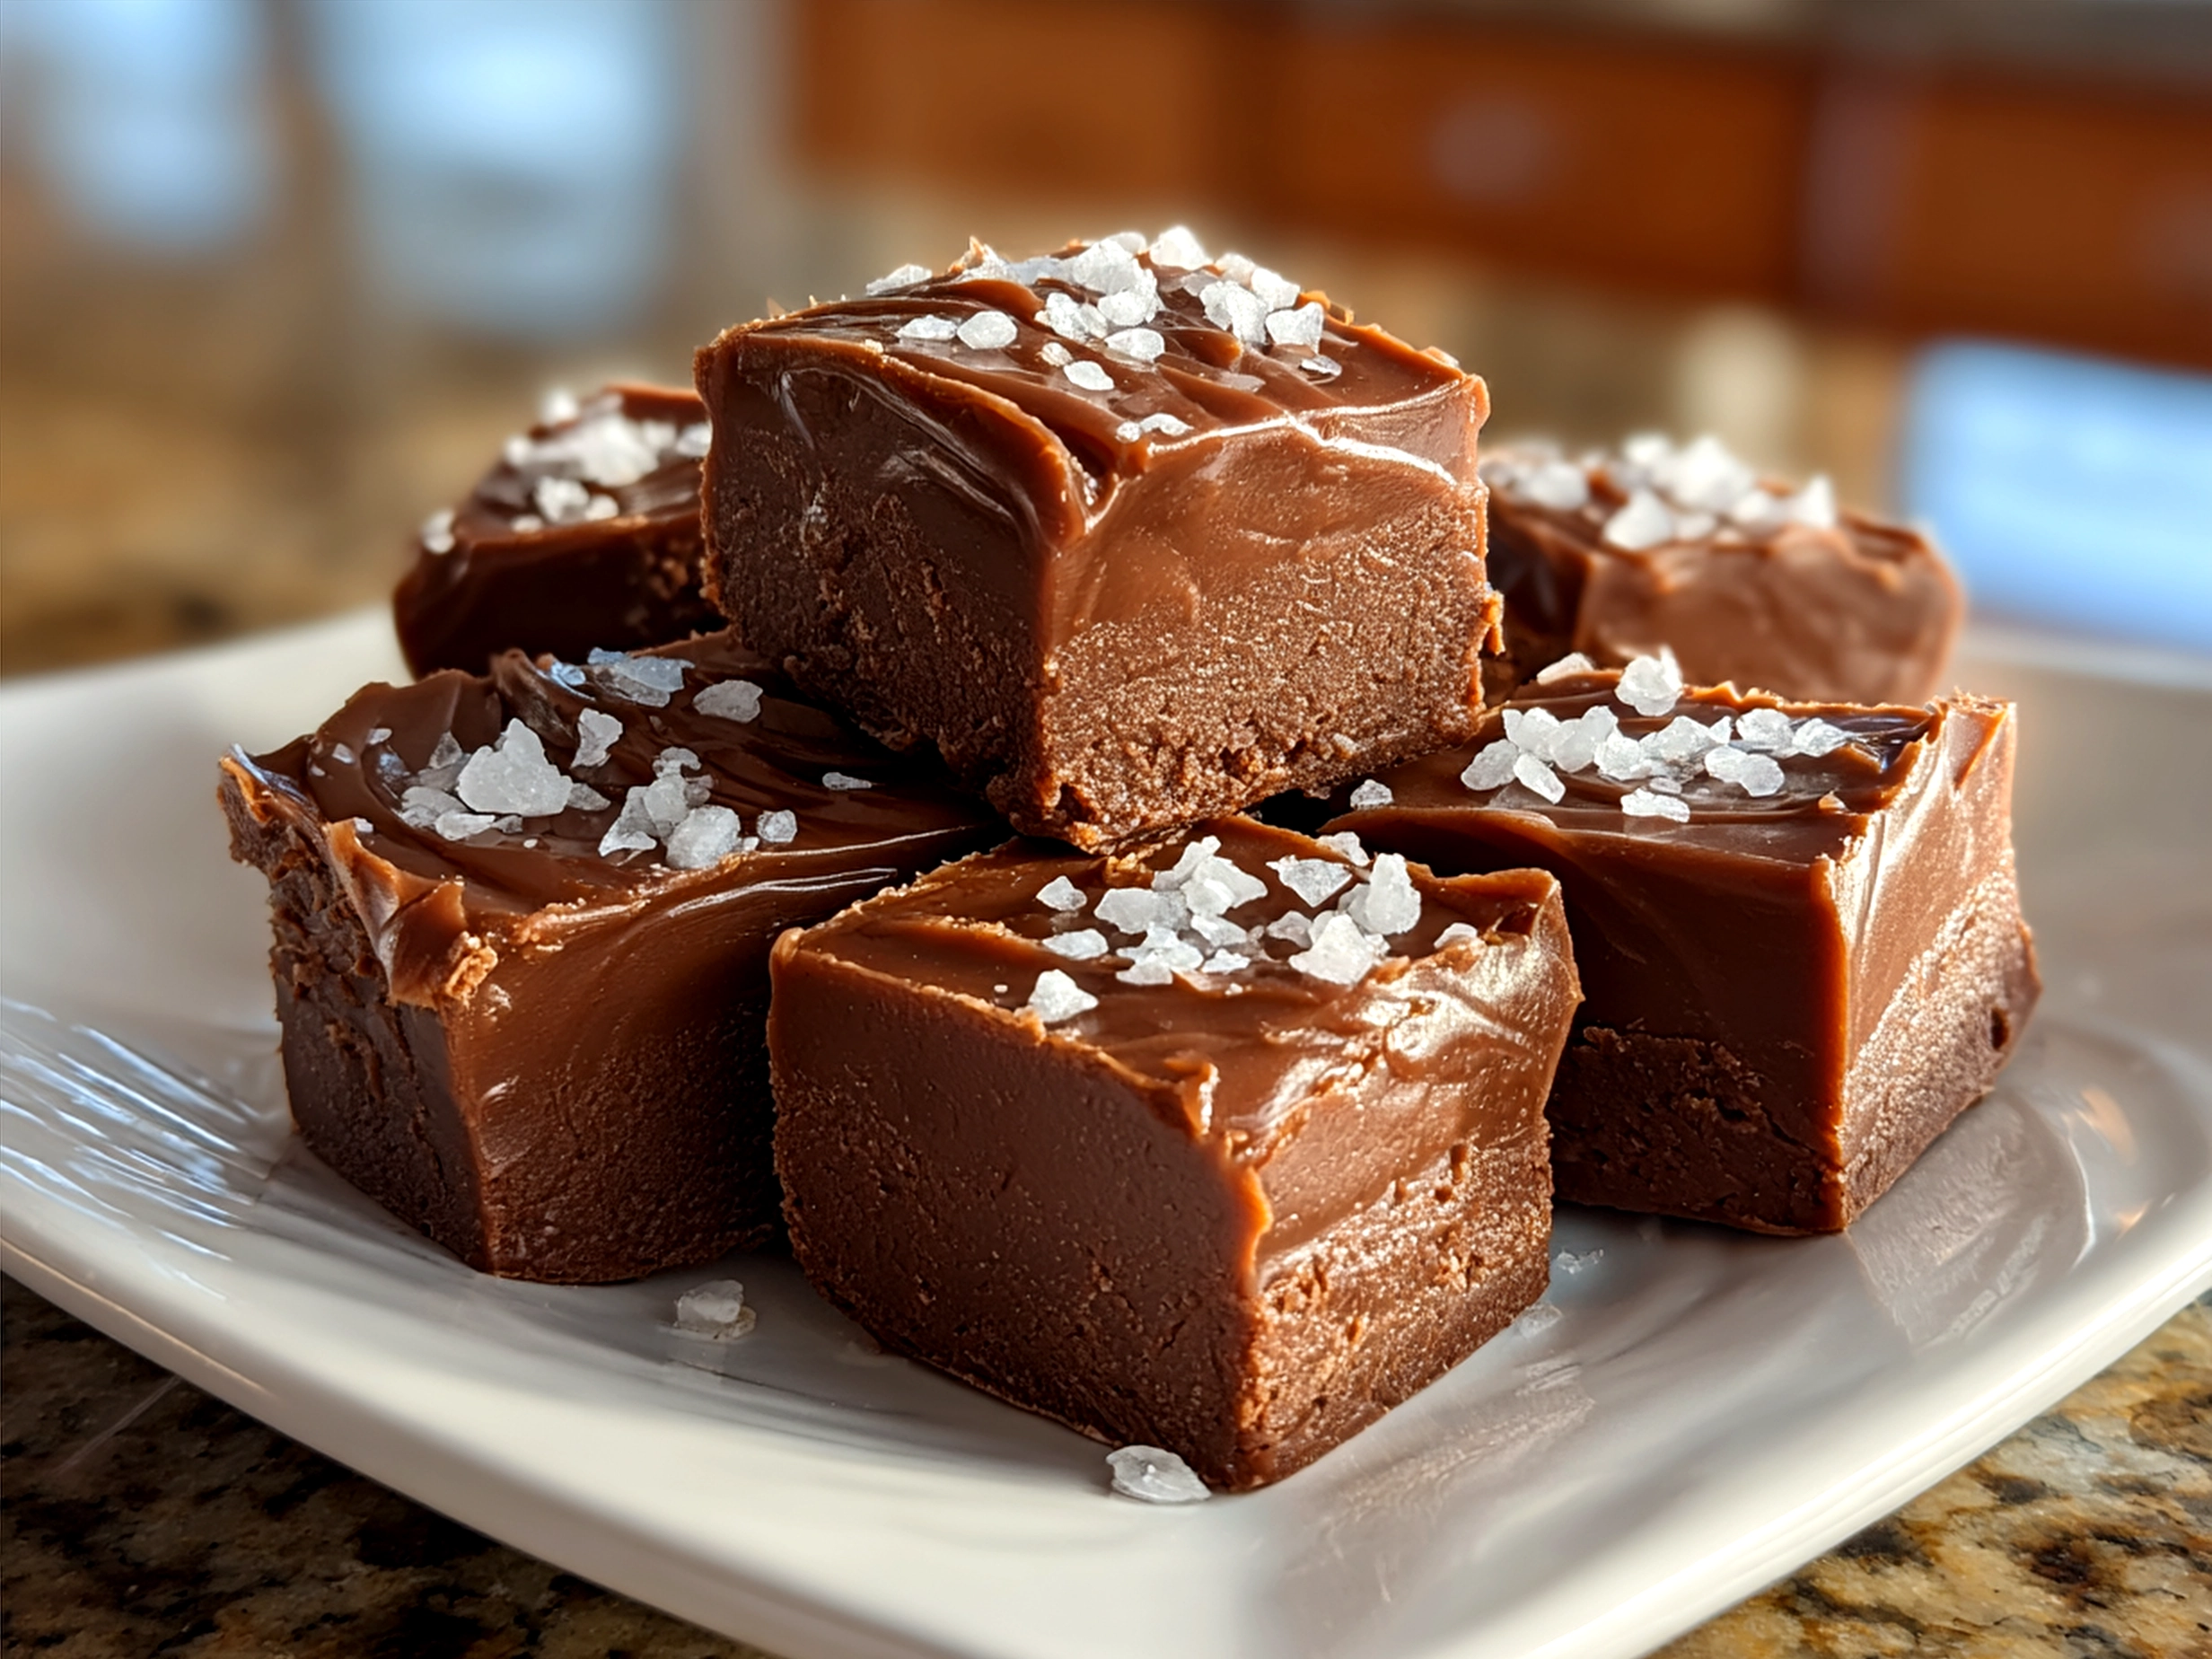
- Pinch of sea salt – This little addition is my favorite No Fail Fudge trick that makes all the difference.
Simple swaps: No condensed milk? Try evaporated milk with a bit of honey or maple syrup, but keep an eye on the texture. Instead of butter, coconut oil is a nice alternative that adds subtle flavor and keeps the No Fail Fudge dairy-free.
Budget-friendly tip: Using chips instead of a whole chocolate bar can be cheaper and saves chopping time for busy days. Store any leftover No Fail Fudge in an airtight container in the fridge—it lasts about 2 weeks and stays creamy.
For quick prep, I sometimes melt everything right in a microwave-safe bowl. More on that in a minute!
Let’s Make It Together!
- Grab a medium saucepan and combine the dark chocolate, sweetened condensed milk, and butter. Set the heat to low-medium.
- Stir slowly and gently. It’s easy to rush this step, but taking your time helps the chocolate melt evenly without burning. Your No Fail Fudge will start to look glossy and smell wonderful about 5 minutes in.
- Once melted and smooth, remove from heat. Stir in the vanilla extract and a pinch of sea salt. This is where your fail-proof fudge formula shines by keeping the flavors balanced and rich.
- Pour the mixture into a lined 8×8-inch pan. Spread it evenly with a spatula. If your No Fail Fudge looks slightly thick but still spreadable, you’re right on track.
- Chill in the fridge for at least 2 hours. Perfect time to set the table or prep a simple side if you’re planning to serve this with other treats.
- Cut into small squares and enjoy! Keep that No Fail Fudge refrigerated for best texture.
In my kitchen, this No Fail Fudge usually takes about 10 minutes of hands-on time and a couple of hours to set. If you’re short on time, I’ve also found this recipe does well if you chill it in the freezer for 30-40 minutes—just watch closely so it doesn’t freeze solid.
A quick kitchen tip: If you want to simplify things further, try the easy microwave fudge method I found in this Easy Microwave Fudge – SugarHero post. It’s a great shortcut for busy nights. Just be careful with timing!
How I Love to Serve This!
This No Fail Fudge is my little treat for those moments when I crave chocolate without feeling guilty. I love pairing it with fresh berries or a handful of nuts to add texture and make it feel a bit more like a nourishing mini dessert.
For special occasions or relaxed weekends, I slice it thin and share it alongside our morning coffee or tea. It also makes a lovely addition to holiday spreads—think about it for your next gathering after serving something savory like the Christmas Breakfast Casserole.
Leftovers? Yes, please! I sometimes crumble this No Fail Fudge over yogurt for an easy, indulgent treat. And if you’re feeling festive, try stirring in a handful of mini marshmallows or chopped dried cranberries—seasonal variations that bring bright, fresh flavors.
Friends and family always ask for seconds when I bring this homemade creamy fudge. The best part is how simple and quick it is to throw together with no worries.
Common Questions Answered
Can I make this No Fail Fudge ahead for meal prep? Absolutely! I often prepare it a day ahead. It keeps beautifully in the fridge for up to two weeks, so you’re covered for last-minute cravings or guest visits.
What if I don’t have all the ingredients for this No Fail Fudge? No worries! If you’re missing chocolate chips, try chopped baking chocolate or even a mix of chocolate and peanut butter for a twist. Vanilla? Skip it or add a splash of almond extract instead.
How can I adjust the flavor of this No Fail Fudge to my taste? I love adding a dash of espresso powder for a mocha flair or a sprinkle of cinnamon for warmth. These simple tweaks are easy ways to personalize your fail-proof fudge formula.
Is this a simple fudge without thermometer type recipe? Yes! One of the reasons I adore this No Fail Fudge is because it doesn’t require a candy thermometer—making it perfect for everyday cooks.
Can I make a dairy-free version? Sure can! Swap butter with coconut oil and use a dairy-free condensed milk alternative to keep it creamy and delicious.
Why does my fudge sometimes turn out grainy? Stirring too fast or overheating the mixture can cause that. Low and slow wins the day with this fail-proof fudge formula.
Where can I find inspiration for more fudge recipes? I often check out Creamiest Gluten-Free Fudge (Easy, No-Fail Recipe) – Best Recipe for variety, plus the What’s the secret to really silky smooth fudge? Facebook group has some great tips on silky smooth fudge textures.
Final Thoughts
This No Fail Fudge holds a sweet spot in my kitchen routine because it’s reliable and never intimidating. My favorite No Fail Fudge tips? First, always melt gently and stir slowly—that’s how it stays creamy. Second, adding a pinch of salt deepens flavor beautifully. Third, trust that simple ingredients can make magic.
I’ve tried adding chopped nuts, swirling in peanut butter, and even mixing a bit of orange zest. Each version brings something new, but I always come back to the classic creamy chocolate base the most.
I hope this No Fail Fudge becomes your easy, nourishing chocolate fix for busy days or cozy weekends. Make it your own, enjoy the process, and remember—no stress, no perfection, just delicious bites that feel good.
If you enjoy this, you might love pairing it with other treats like these Chocolate Cut-Out Heart Cookies or a comforting bowl of my Cheats Chicken Laksa.
Happy cooking, my fellow home cooks! Your simple, homemade creamy fudge awaits.
No Fail Fudge
A rich and creamy no-fail fudge recipe that’s quick to make and perfect for satisfying your sweet tooth. This easy homemade fudge offers a smooth texture and classic chocolate flavor without any hassle.
- Prep Time: 10 minutes
- Cook Time: 10 minutes
- Total Time: 20 minutes
- Yield: 16 servings
- Category: Dessert
- Method: No-Cook
- Cuisine: American
Ingredients
- 3 cups semi-sweet chocolate chips
- 1 can (14 oz) sweetened condensed milk
- 1/4 cup unsalted butter
- 1 teaspoon vanilla extract
- Pinch of salt
Instructions
- Line an 8×8-inch pan with parchment paper and set aside.
- In a medium saucepan, combine chocolate chips, sweetened condensed milk, and butter.
- Cook over low heat, stirring constantly, until chocolate and butter are fully melted and mixture is smooth.
- Remove from heat and stir in vanilla extract and a pinch of salt.
- Pour the fudge mixture into the prepared pan, spreading evenly.
- Refrigerate for at least 2 hours or until firm.
- Once set, cut into squares and serve.
Notes
For an extra touch, sprinkle chopped nuts or sea salt on top before chilling to add texture and flavor.